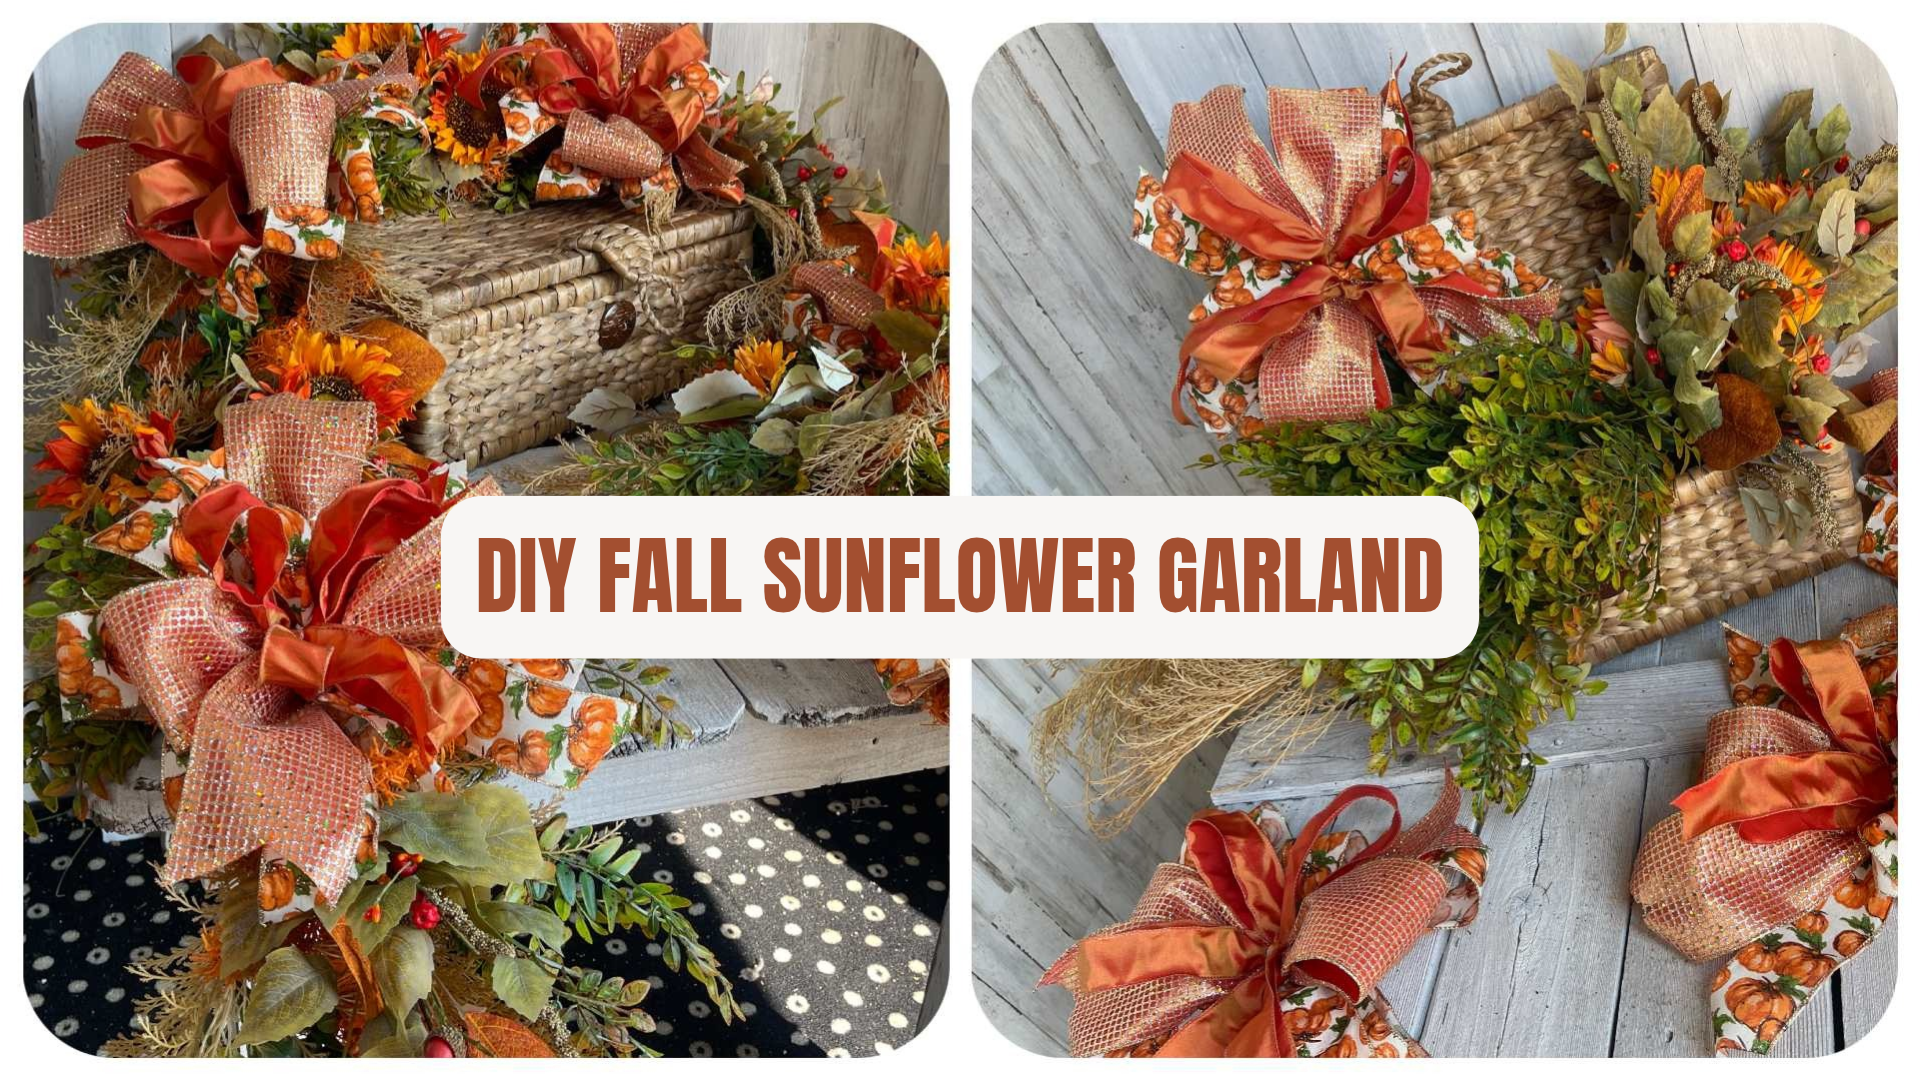
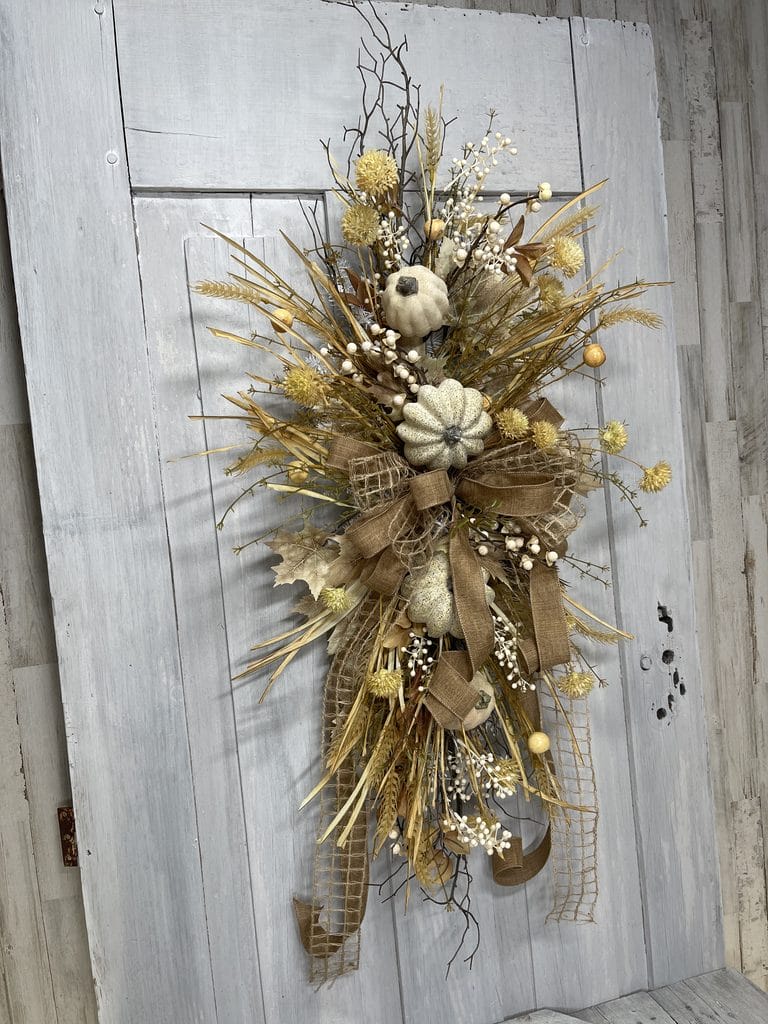
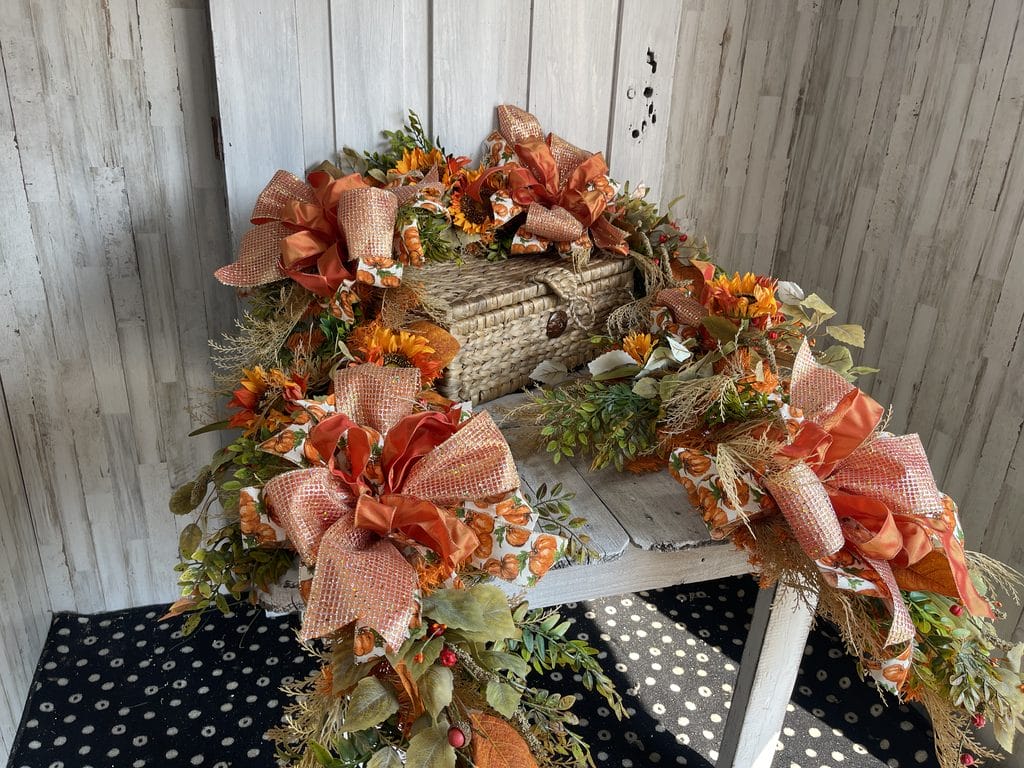
Want to make a statement with your Autumn decorating? This DIY fall garland combines bright orange sunflowers, pumpkin-colored ribbon, berries and wispy greenery into a beautiful 9-foot design.
Whether you’re decorating a mantel, framing a doorway or creating a long table display, Kelea shows how to turn a basic garland into a full floral arrangement without getting overwhelmed by its size.
The secret is to work in sections, build your greenery in layers and use five coordinated bows to establish the design’s rhythm.
Watch Kelea Make the Autumn Pumpkin Sunflower Garland
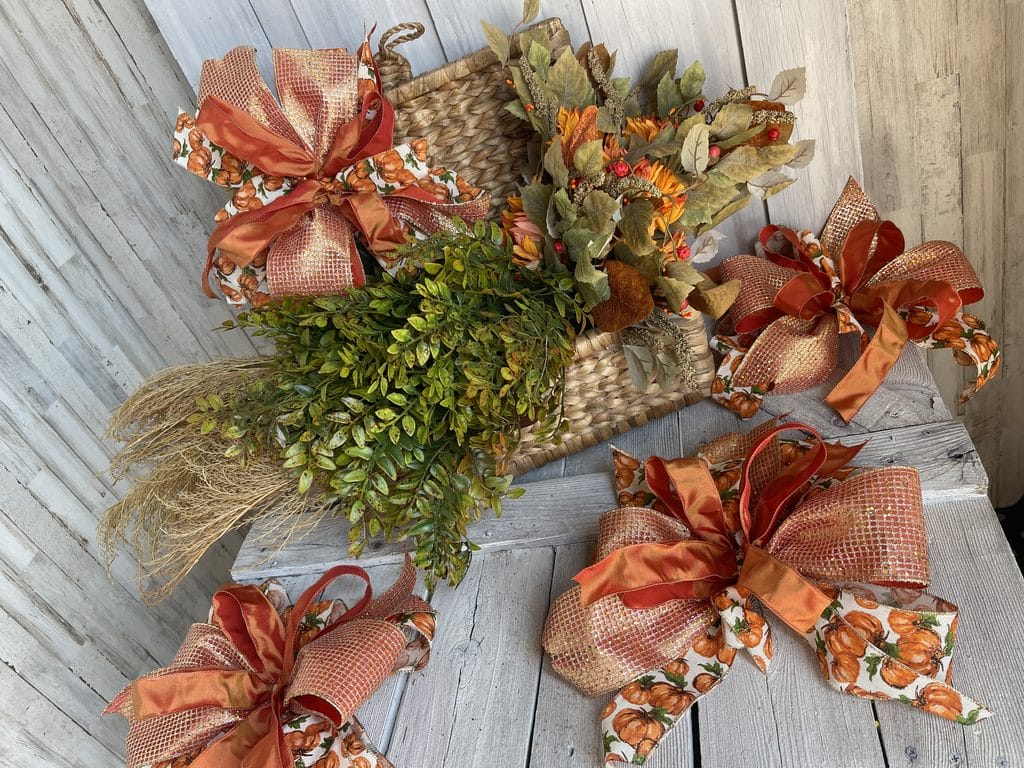
Follow along as Kelea prepares the garland, makes the ribbon bows and layers greenery, Phoenix tail fern and sunflowers.
Shop the Autumn Pumpkin Sunflower Garland Kit and Supply List
Step 1: Prepare Your 9-Foot Garland
Kelea begins with a 9-foot orange garland base.
Before decorating, she recommends putting on work gloves. Fluffing and shaping pine garland can be rough on your hands, especially when you’re working with a large piece.
Spread the garland out as flat as possible so you can see its full length.
Find the Center Without Measuring
Rather than using a tape measure, Kelea folds the garland so the two ends meet.
This quickly identifies the midpoint.
She designs both sides to flow downward and away from the center. This creates a balanced arrangement that can work over a doorway, across a mantel or along a table.
Plan the Bow Positions
Kelea uses five bows:
- One at the center
- Two spaced along one side
- Two spaced along the opposite side
Instead of attaching them immediately, she ties small pieces of raffia at each planned location.
These markers keep the bow positions visible while she adds greenery.
Designer tip: Marking your focal points before decorating helps maintain even spacing across a large project.
Step 2: Make Five Coordinated Autumn Bows
Kelea combines pumpkin-colored ribbon with coordinating orange and gold wired ribbons.
She makes what she calls a funky bow, using short tails that point upward rather than long ribbon tails hanging down.
Build the Ribbon Layers
She begins with the pumpkin ribbon, making approximately 7-inch loops and 8-inch tails.
Next, she adds a 4-inch-wide ribbon, again creating generous loops.
Finally, she adds a coordinating wired-edge ribbon with slightly smaller loops of approximately 6 inches.
She twists and gathers the ribbon at the center as she works.
Secure and Finish the Bow
Kelea secures the ribbon layers with a brown cable tie.
Before tightening it completely, she separates and fluffs the loops.
Then she adds an extra piece of pumpkin ribbon to the front and ties a neat decorative knot.
She finishes the tails with V-shaped dovetail cuts.
Repeat the process until you have five matching bows.
Designer tip: Use wired ribbon so you can shape the loops and adjust their direction after attaching the bows to the garland.
Step 3: Divide Your Floral Picks Before Decorating
One of Kelea’s most useful techniques is preparing all the floral materials before assembling the garland.
She separates the larger bushes into individual stems and groups them by type.
This makes it easier to distribute the materials throughout the full 9-foot length.
Prepare the Phoenix Tail Fern
Kelea uses Phoenix tail fern because it resembles a soft ornamental grass.
Each bush separates into three main sections, which she cuts again to create six smaller pieces.
She flattens and spreads the branches so the foliage extends in both directions.
These pieces will become the second layer of the arrangement.
Prepare the Greenery
Kelea cuts the stems from her greenery bushes, leaving them relatively long.
She plans to combine them into small clusters when attaching them to the garland.
Prepare the Sunflower Picks
The sunflower bushes contain large and small flower heads, along with greenery and decorative leaves.
Kelea separates the pieces so the most noticeable sunflower blooms can be placed where they will have the greatest visual impact.
She saves the greenery-only sections for the lower portions and final adjustments.
Designer tip: Reserve your most decorative materials for the foreground. Use simpler greenery to establish the background and fill out the overall shape.
Step 4: Build the Background Greenery
With the garland prepared and the bow positions marked, Kelea begins adding the first layer of greenery.
She combines stems into clusters, usually pairing one longer piece with one shorter piece.
She dips the stems into glue, places them against the garland and twists the garland’s wired branches around them to secure the connection.
Follow a Zigzag Pattern
Kelea alternates the greenery clusters from one side to the other.
This creates a zigzag pattern along each section.
The technique helps distribute the foliage without placing every stem in a straight line.
She continues working outward from the center, with the greenery flowing toward the ends of the garland.
Repeat the Pattern on Both Sides
After completing one section, Kelea repeats the process on the opposite side.
The two halves mirror each other in direction, but the individual branches don’t need to be identical.
This creates a balanced design that still looks natural.
Step 5: Add Phoenix Tail Fern for Movement
Once the background greenery is in place, Kelea adds Phoenix tail fern.
The long, narrow foliage softens the arrangement and introduces a different texture.
She places the fern between the greenery clusters, following the same zigzag pattern.
As she works, she adjusts the wired branches so the fern flows outward from the garland.
The result is a softer background for the ribbon and sunflowers.
Designer tip: Mixing broad leaves with narrow, grass-like foliage creates visual contrast and movement.
Step 6: Attach the Five Autumn Bows
Now it’s time to add the bows.
Kelea returns to the raffia markers she placed earlier.
She attaches each bow securely at its marked position.
Angle the Bows for a Flowing Design
Rather than placing every bow in exactly the same direction, Kelea angles them.
On one side of the garland, the bows lean one way.
On the opposite side, they lean the other way.
This supports the overall direction of the design and keeps the ribbon from looking too rigid.
She also avoids fully fluffing the bows at this stage because the sunflowers still need to be added.
Step 7: Add Orange Sunflowers as Focal Points
The sunflowers are the main decorative feature of this Autumn garland.
Kelea places them after the background greenery, fern and bows are secured.
This allows the flower heads to remain visible instead of getting buried in the foliage.
Begin Near the Center
She starts near the center bow, where the arrangement is likely to receive the most attention.
A large sunflower extends from the bow, adding a bright pop of orange.
She places another sunflower nearby, angling it in the opposite direction.
Alternate the Flower Placement
Moving down the garland, Kelea continues alternating the sunflower stems.
Some face outward, while others sit closer to the ribbon.
She also adjusts the wired stems to shorten or reposition individual flower heads.
Use Decorative Leaves Near the Ends
Toward the lower sections of the garland, Kelea adds the remaining leafy sprays.
These contain Autumn-colored foliage and berries that help finish the design without crowding the ends with oversized flowers.
Designer tip: Place your most noticeable flowers near the focal areas, then use smaller leaves and greenery to create a natural transition toward the ends.
Step 8: Fluff the Bows and Fill Any Gaps
Once both halves of the garland are decorated, Kelea checks the entire design.
She fluffs the ribbon loops and looks for openings where the orange garland base or attachment points are too visible.
Rather than adding unnecessary materials everywhere, she uses the leftover greenery and Phoenix tail fern only where needed.
She also checks for exposed glue and other construction details.
This final inspection gives the garland a finished appearance.
What Makes This Autumn Garland Design Work?
A clear direction
Both sides of the garland flow away from the center, making the arrangement feel intentional.
Repeated focal points
Five coordinated bows establish a consistent pattern throughout the design.
Layered textures
Broad greenery, wispy fern, orange sunflowers and ribbon create depth without relying on one type of material.
Thoughtful flower placement
The sunflower heads remain prominent because Kelea adds them after establishing the background.
Secure construction
The wired garland branches help hold the glued stems in place, supporting the arrangement over repeated seasonal use.
Frequently Asked Questions
How long is this DIY fall garland?
Kelea uses a 9-foot garland base. Check the length of any garland you purchase because bases are also sold in shorter sizes.
How many bows does Kelea use?
She uses five handmade bows: one in the center and two along each side.
Can I use this garland on a mantel?
Yes. Kelea designs the greenery to flow away from the center, making the arrangement suitable for a mantel, doorway or table display.
Why does Kelea mark the bow positions with raffia?
The markers show where each bow belongs without getting in the way while she builds the greenery layers.
Should I attach the sunflowers before the greenery?
Kelea recommends building the background greenery and fern first, then attaching the bows and sunflowers. This helps keep the decorative flower heads visible.
Can I use this technique for Christmas garlands?
Yes. Kelea explains that the same section-by-section construction method works for other seasons. Change the ribbon, flowers and greenery to suit your decorating theme.
Create Your Own Autumn Pumpkin Sunflower Garland
A large garland doesn’t have to be intimidating.
Kelea’s process makes this 9-foot project easier to manage by dividing it into sections, preparing the floral materials in advance and building each layer in a consistent order.
Start with the orange garland, establish your bow positions and add the greenery in a zigzag pattern.
Then bring in the Phoenix tail fern, handmade bows and orange sunflowers.
Finish by fluffing the ribbon and filling any visible gaps.
You’ll have a beautiful Autumn garland that brings seasonal color to your mantel, doorway or table.
Shop the Autumn Pumpkin Sunflower Garland Kit
Want to learn more about floral design techniques, including shape, movement and layering? Explore Kelea’s Design School.
Where would you display a 9-foot Autumn garland — across your mantel, around a doorway or along a table?