The WordPress post title supplies the H1, so the body below begins with the introduction rather than repeating the title.
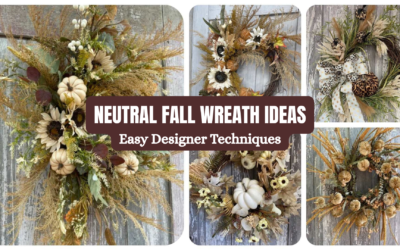
This neutral fall door swag combines creamy white pumpkins, soft berries, natural twigs and wispy grasses for an autumn design that feels elegant without being overly formal.
Instead of using bright harvest colors, Kelea combines warm tan, mustard, ivory and natural textures. The result is a long, flowing design that brings seasonal character to a front door while keeping the color palette soft.
Even better, this tutorial teaches you how to build a secure swag, create a strong silhouette and use smaller floral pieces to add depth without making the arrangement look crowded.
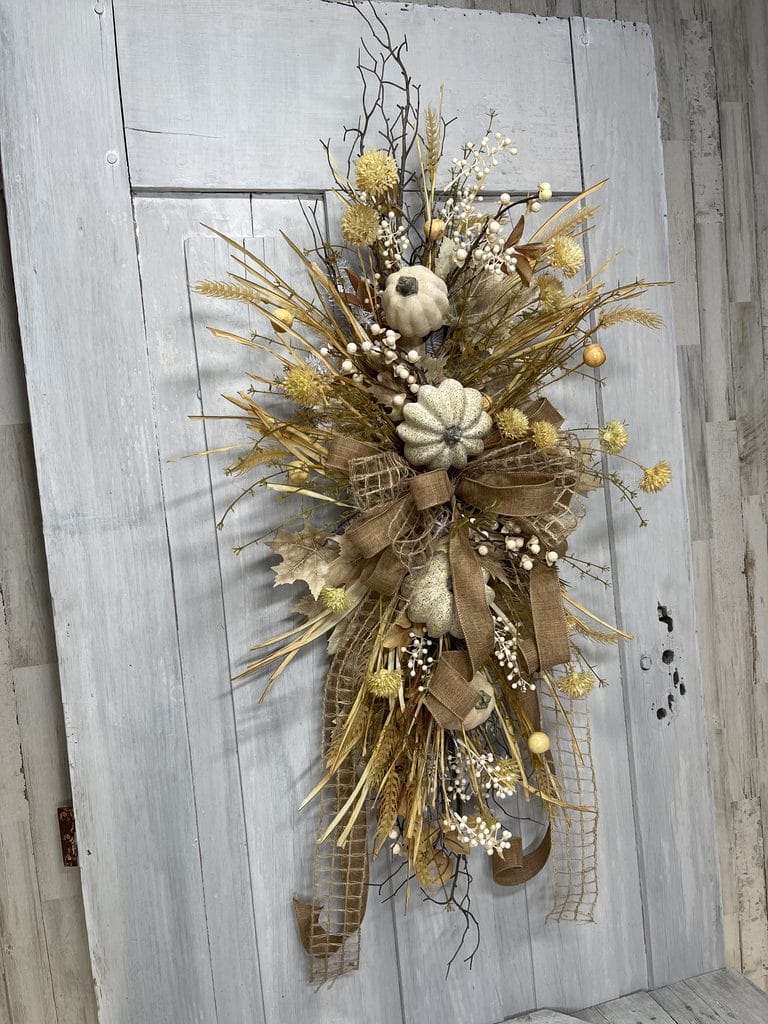
Explore the Neutral Wispy Pumpkin Fall Swag Kit #1615
Watch the Neutral Fall Door Swag Tutorial
Follow along as Kelea builds this wispy autumn design, from establishing the twig framework to adding the final berries and ribbon.
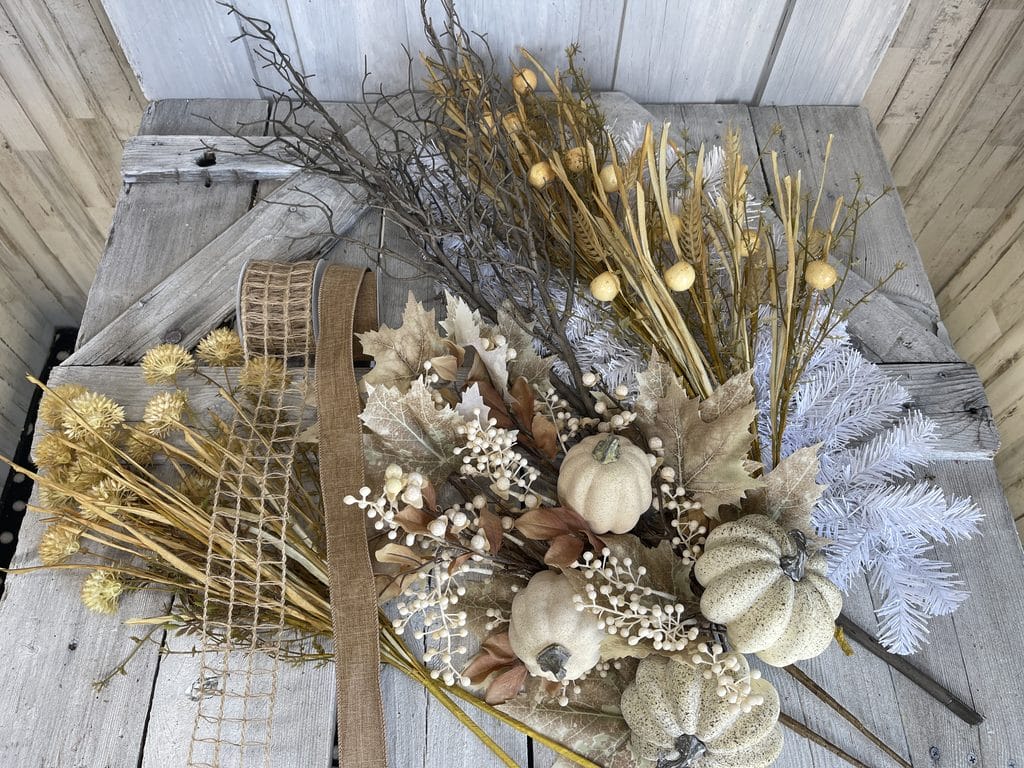
Start With a Strong Swag Base
Before adding any florals, Kelea shapes the white pine swag base, spreading the branches so they lie flat and create a foundation for the arrangement.
Because the base already has a hanger, she can concentrate on creating the design’s shape rather than building a separate hanging mechanism.
Establish Height With Natural Twigs
Next, Kelea positions two large twig stems, one extending upward and the other downward.
The twigs become the longest elements in the design. As a result, they establish the overall height before any pumpkins or smaller fillers are added.
She secures the thick stems with hot glue and twists the pine branches around them for additional support.
This is an important lesson: establish the silhouette before filling the center.
Let White Pumpkins Become the Focal Point
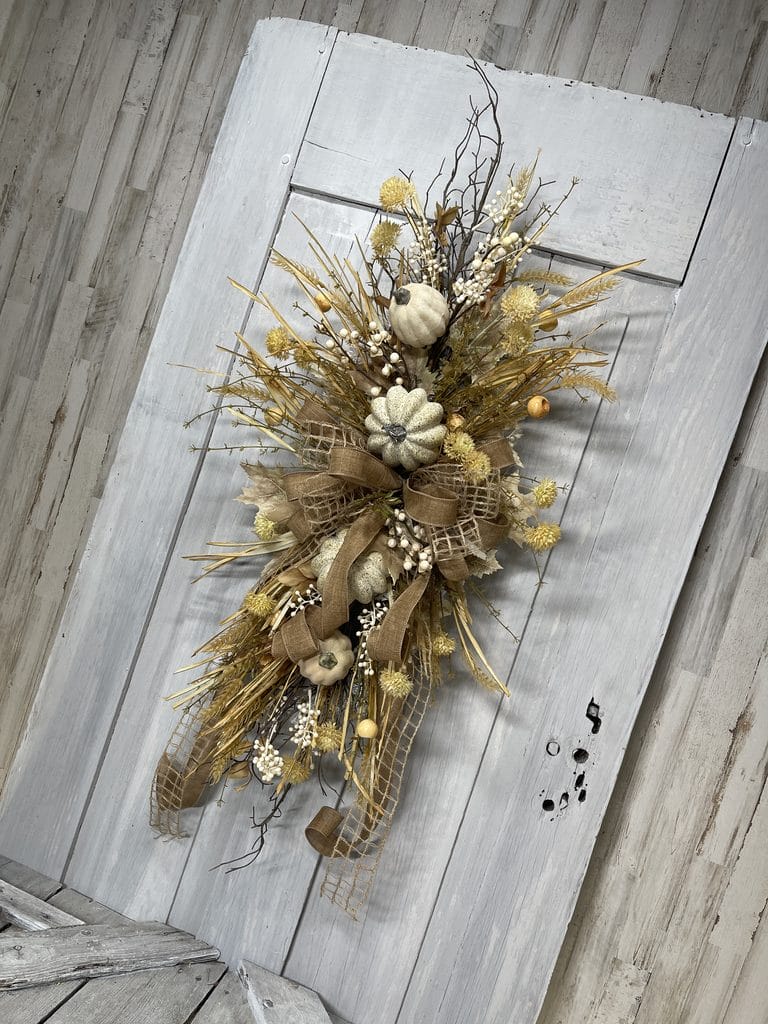
The main pumpkin sprays include creamy white pumpkins, autumn leaves and white berries.
Kelea places one spray toward the top and the other toward the bottom, following the direction the twigs establish.
However, she doesn’t fill the entire middle with pumpkins.
Instead, she deliberately leaves space for the bow.
Create a Bow Zone
Kelea calls this open area the bow zone.
By planning the bow placement early, she can build the surrounding florals without crowding the center.
She also trims a few leaves and berry sections from the pumpkin sprays and saves them for later.
Those smaller pieces will help connect the bow to the surrounding materials.
Use Zigzag Placement for Natural Movement
Once the main pumpkin sprays are secure, Kelea adjusts the wired branches so they move in slightly different directions.
Rather than placing everything in straight lines, she staggers the pieces.
Some travel left, while others move right.
This zigzag placement creates movement and prevents the swag from looking flat or overly symmetrical.
Break Apart Larger Floral Bushes
Next, Kelea prepares the wheat and crabapple bushes.
Instead of inserting each entire bush, she separates the stems into smaller usable sections.
She also explains why she sometimes pulls stems apart rather than cutting immediately: separating them can preserve additional stem length for placement.
Stretch Your Supplies With Strategic Cuts
This technique allows the wheat, berries and grasses to reach multiple areas of the design.
It also gives you more control over how much texture goes into each opening.
Before buying extra filler, consider whether a larger bush can be divided into several smaller pieces.
Build the Background With Triangle Placement
Kelea begins adding wheat and crabapple stems behind the larger pumpkin sprays.
She starts with a triangle arrangement near the top, then varies the height of each additional piece.
One stem sits slightly higher.
Another extends outward.
Meanwhile, the shorter pieces begin filling the areas closer to the bow.
Triangle placement creates balance, while varied stem lengths keep the design natural.
Change Direction at the Transition Point
As Kelea approaches the center of the swag, the direction of the materials changes.
This is the transition point.
Above the bow, stems generally travel upward. Below the bow, they begin moving downward.
By changing direction gradually, the finished swag has a continuous flow instead of looking like two separate arrangements attached together.
Add a Natural Bow With Cascading Ribbon
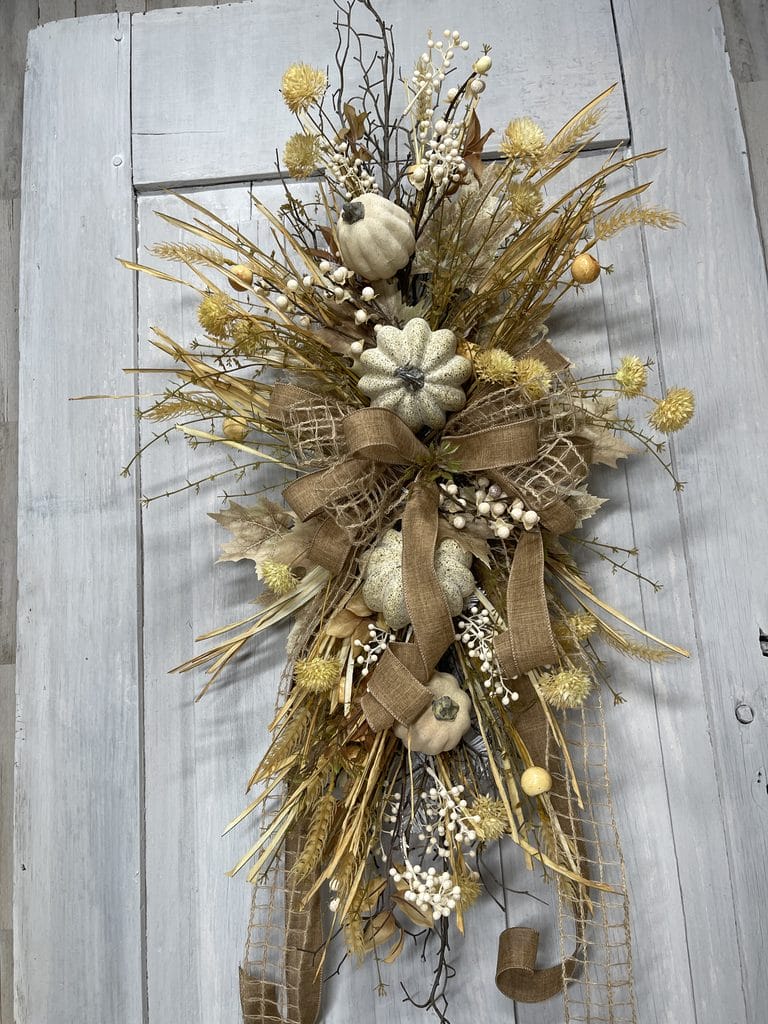
The bow combines natural windowpane ribbon with a darker tan ribbon.
Together, the ribbons repeat the warm tones found in the twigs, wheat and pumpkin sprays.
Kelea secures the bow at the center transition point, then shapes the loops and tails.
Use Ribbon to Extend the Design
Instead of trimming every ribbon tail short, Kelea allows the longer tails to cascade down through the swag.
The back tails remain long, while the shorter front tails are curled for additional dimension.
As a result, the ribbon becomes part of the arrangement’s movement rather than simply a decoration attached to the center.
Fill Around the Bow With Saved Pieces
Remember those leaves and berries Kelea saved earlier?
Now they become useful.
She places the smaller sections around the bow to cover openings and connect the pumpkin sprays to the ribbon.
This also helps hide attachment points and makes the center look more finished.
Designer tip: Save a few smaller floral pieces until the end. They’re often exactly what you need to finish the area around a bow or focal attachment.
Soften the Swag With Wispy Grasses
Next, Kelea adds the smaller grass sections from the thistle bushes.
These pieces sit between the larger stems, softening the edges and filling openings without adding too much bulk.
She works from the background toward the foreground, using shorter pieces near the center.
The grasses also repeat the natural texture of the wheat and twigs.
As a result, the arrangement feels connected from top to bottom.
Add Thistle for Movement and Dimension
The thistle stems bring another interesting texture into the design.
Kelea separates the bushes into smaller sections, then uses triangle and zigzag placement to distribute them throughout the swag.
Because the stems are wired, she can bend and direct them.
Some extend outward, while others come forward around the pumpkins and bow.
That movement is especially important in a neutral design because texture and depth create much of the visual interest.
Finish With Small Details
Before calling the project complete, Kelea checks the center, adjusts the bow and pulls the white berries forward so they’re easier to see.
She also makes sure the smaller stems are securely attached to the pine base.
Finally, she shapes the wired materials one more time.
These finishing adjustments make the design look intentional without adding unnecessary supplies.
Why This Neutral Fall Door Swag Works
The beauty of this design comes from its combination of shape, texture and movement.
The twigs establish height, while the pumpkins create recognizable autumn focal points.
Wheat and grasses soften the outline. Meanwhile, white berries provide small areas of contrast.
The natural ribbon connects the colors and carries the eye down through the arrangement.
Together, these elements create a neutral fall door swag that feels full of detail without becoming heavy.
Learn the Why Behind Floral Design
The techniques in this project work far beyond autumn decorating.
Once you understand how to establish a silhouette, plan a bow zone, create a transition point and layer materials at different depths, you can apply those skills to Christmas swags, everyday greenery and other seasonal arrangements.
That’s what Kelea teaches through Kelea’s Design School—understanding not just where to place a stem, but why that placement works.
Neutral Fall Door Swag FAQ
What colors work well for a neutral autumn swag?
Cream, ivory, tan, wheat, soft mustard and muted greenery work beautifully together. Mixing textures keeps the design interesting even when the colors are similar.
What is a bow zone in floral design?
A bow zone is the space intentionally reserved for the bow. Planning it before adding filler makes it easier to secure the ribbon and incorporate it naturally into the arrangement.
How do you make a fall swag look wispy?
Start with longer twigs and grasses to establish the silhouette. Then use shorter filler pieces near the center, leaving some space between the outer materials so their shapes remain visible.
Should I use whole floral bushes or cut them apart?
It depends on the design. In this project, Kelea separates the wheat, crabapple and allium bushes into smaller sections for more controlled placement.
How do you secure large stems to a pine swag?
Kelea uses hot glue on the thicker stems and twists the pine branches around them to provide extra support.
How do you keep a neutral swag from looking flat?
Vary stem lengths, use triangle and zigzag placement, and bring some wired materials forward. Mixing rounded pumpkins with long twigs, grasses and berries also creates visual contrast.
Make Your Own Neutral Fall Door Swag
If you love soft autumn decorating, this project is a beautiful way to work with pumpkins without relying on a bright orange palette.
Start by establishing the shape with twigs. Next, position the pumpkin sprays and leave room for the bow. Then build the background with wheat and berries before adding smaller grasses and allium for movement.
Finally, shape the ribbon and bring a few details forward.
You’ll have a neutral fall door swag filled with texture, flowing lines and the designer techniques you can use again and again.