A velvet pumpkin centerpiece is a beautiful way to bring fall color and texture into your home without relying on a traditional table arrangement. In this project, Kelea combines an off-white velvet pumpkin, warm sunflowers, muted greenery, and a rustic branch on a tall candlestick to create an arrangement with cottage-inspired elegance. This velvet pumpkin centerpiece is an easy way to bring designer fall style to a mantel, table, or seasonal display. What makes this project especially useful is its shape. Instead of building a wide arrangement all the way around the candlestick, Kelea keeps the design compact and flatter toward the back so it works beautifully on a mantel, console or side table.
➡️ Velvet Pumpkin Candlestick Kit Supply List:
https://www.keleas.com/product/velvet-pumpkin-candlestick-kit/
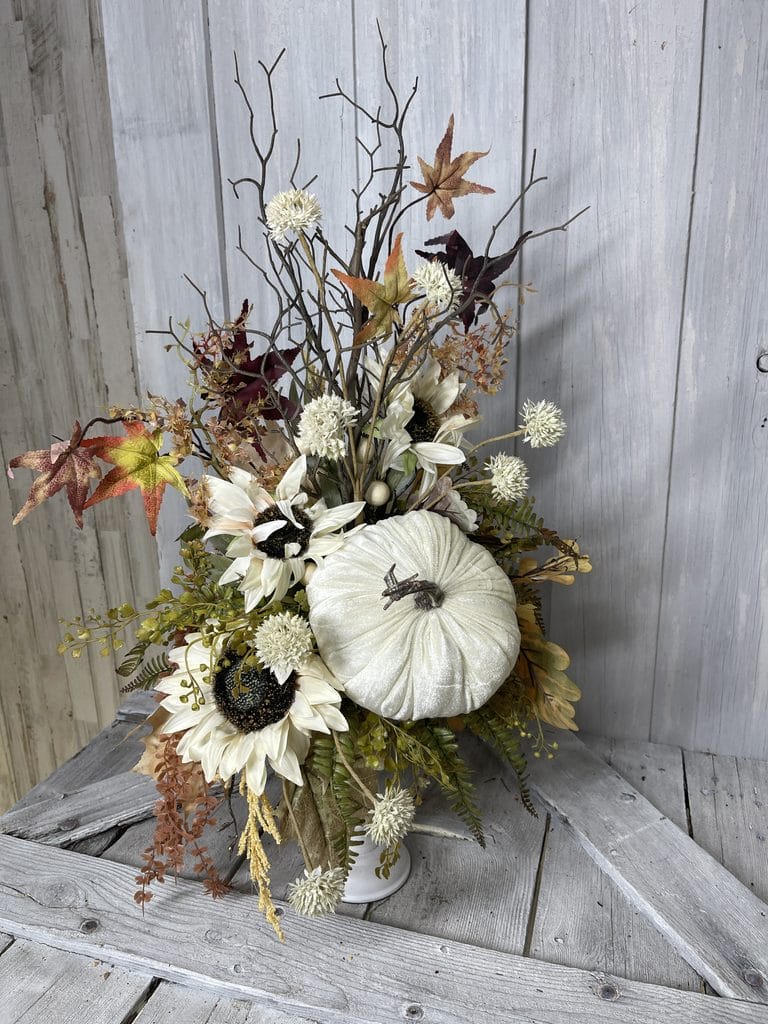
An elegant fall candlestick arrangement featuring a velvet pumpkin, sunflowers and rustic autumn textures.
How to Make a Velvet Pumpkin Centerpiece
Before we get into the design techniques, watch Kelea build the entire arrangement from the candlestick up.
As you watch, pay attention to how she establishes the focal pumpkin first, then works upward with the branch and sunflowers before filling the spaces with greenery and smaller elements.
That order helps the arrangement stay intentional instead of becoming overly full.
What You Need for This Fall Candlestick Arrangement
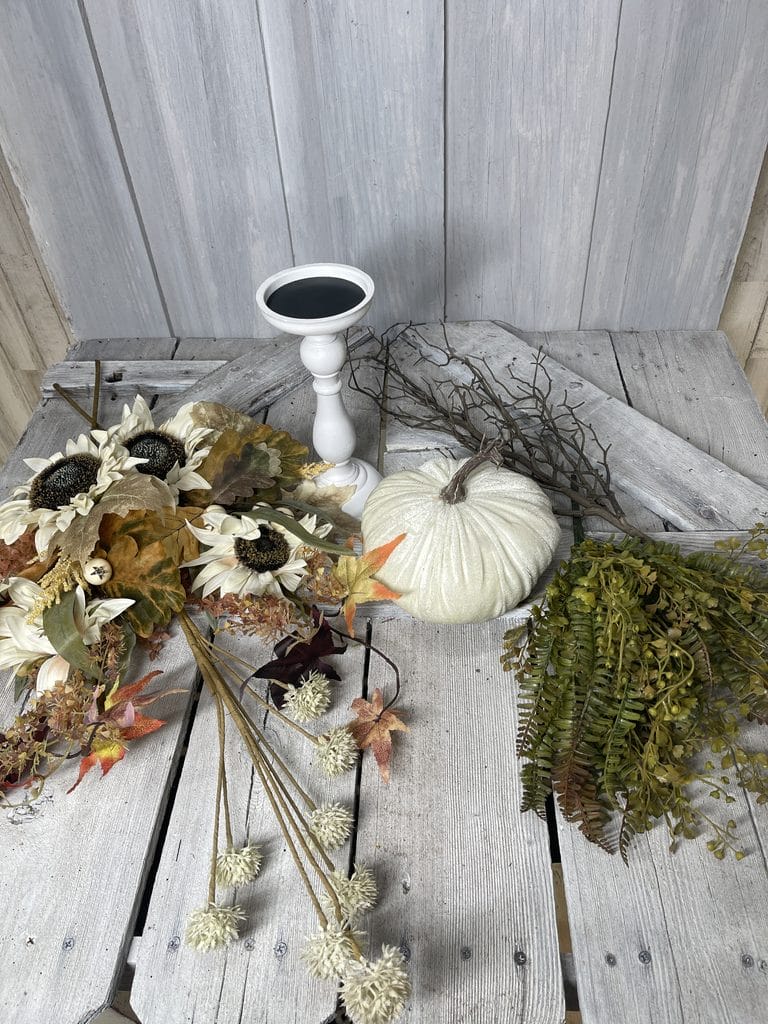
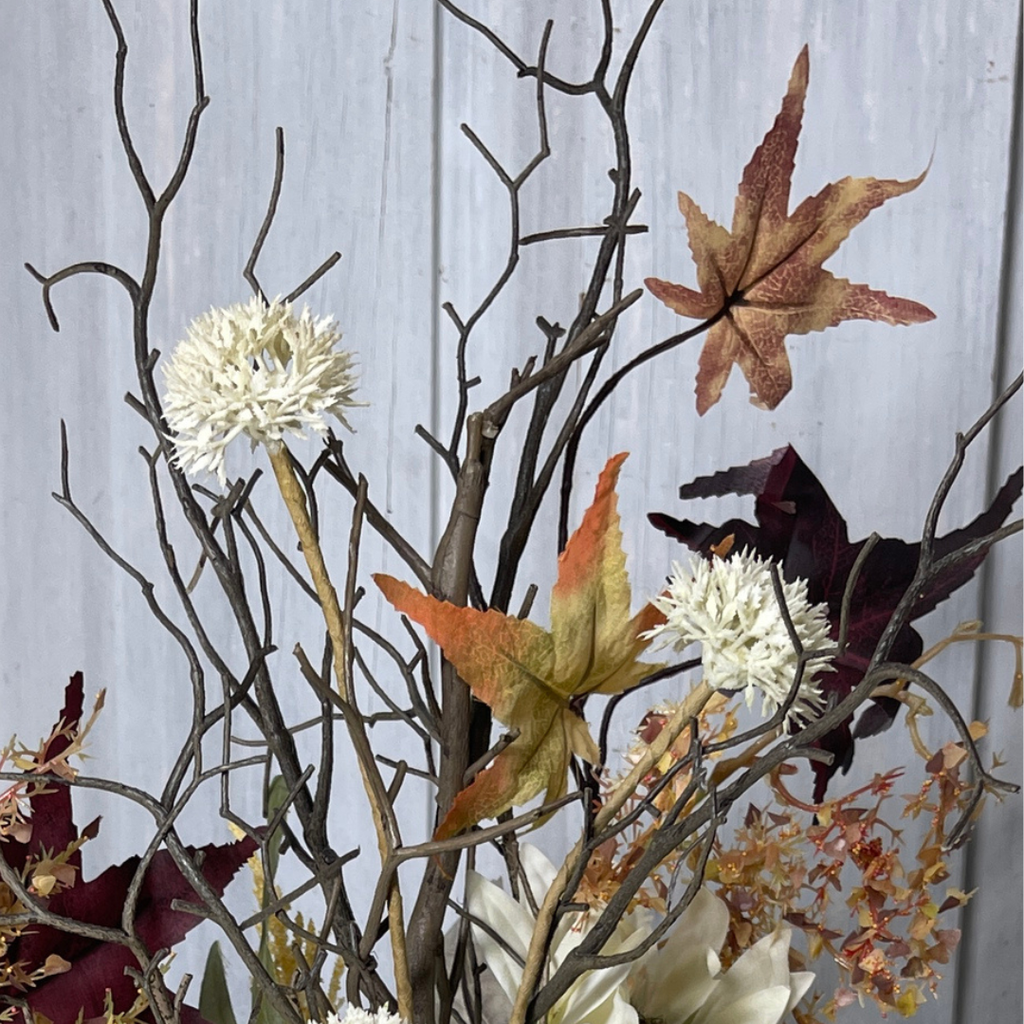
The kit is built around a tall candlestick and an off-white velvet pumpkin. Kelea then uses two sunflower sprays, muted green-yellow foliage, allium and a larger rustic branch to establish the shape and texture.
You’ll also need the basic floral mechanics Kelea uses in the tutorial, including floral foam, hot glue, a skewer for attaching the pumpkin and Spanish moss to disguise the mechanics.
Prep the Candlestick Before Adding Florals
A polished arrangement starts before the first flower goes in.
Kelea cuts a small piece of floral foam to fit securely into the top of the candlestick and glues it into place. Then she works Spanish moss around the exposed edges of the foam before building the arrangement.
Doing this early makes a big difference.
Rather than trying to hide mechanics after the arrangement is full, you’re disguising them from the beginning.
Work in Small Sections With Hot Glue
Kelea also points out that she works a little glue at a time when attaching the Spanish moss.
That’s practical because hot glue begins setting quickly. Working in smaller areas gives you enough time to position the moss neatly instead of racing around the entire base.
Position the Velvet Pumpkin First
The velvet pumpkin becomes the main focal point, so Kelea places it before building the floral portion.
One small detail is especially worth noticing: she checks the candlestick for a visible seam and positions the design so that seam isn’t facing forward.
That has nothing to do with adding more supplies.
It’s simply paying attention.
Those small choices are often what make a finished piece feel more professional.
Give the Pumpkin a Strong Attachment
Because the pumpkin is fabric filled with batting, Kelea creates a small opening and inserts the blunt end of a skewer inside.
The skewer is then shortened, glued and pushed into the floral foam so the pumpkin sits securely toward the front of the candlestick.
Placing it forward also leaves valuable foam exposed behind the pumpkin for the taller floral elements.
Use a Rustic Branch to Establish Height
Once the pumpkin is secure, Kelea adds the large branch.
This is the piece that establishes the maximum height of the arrangement.
She measures it against the sunflower spray first, then trims the branch so it will remain slightly taller once inserted into the foam.
That’s a useful floral-design habit:
Compare before you cut.
Once you’ve shortened a branch, you can’t put that length back.
Kelea positions the twig just behind the pumpkin and slightly to one side, giving the piece a rustic vertical line without making the arrangement overly wide.
Create a Strong Line With the Sunflowers
The sunflower sprays provide both color and movement.
Rather than inserting each spray exactly as it comes, Kelea breaks the material into sections and shapes the stems before placing them. One sunflower creates height near the branch while another moves downward, creating a line through the arrangement.
This is a good example of designing with the direction of the material, not simply filling openings.
Create a Triangle With Your Focal Flowers
As more sunflowers are added, Kelea notes that the three prominent flower heads begin forming a triangle.
Triangle placement is useful because it gives your eye multiple points to travel between.
Instead of one heavy cluster of flowers, the blooms relate to each other across the arrangement.
Layer Greenery Around the Pumpkin
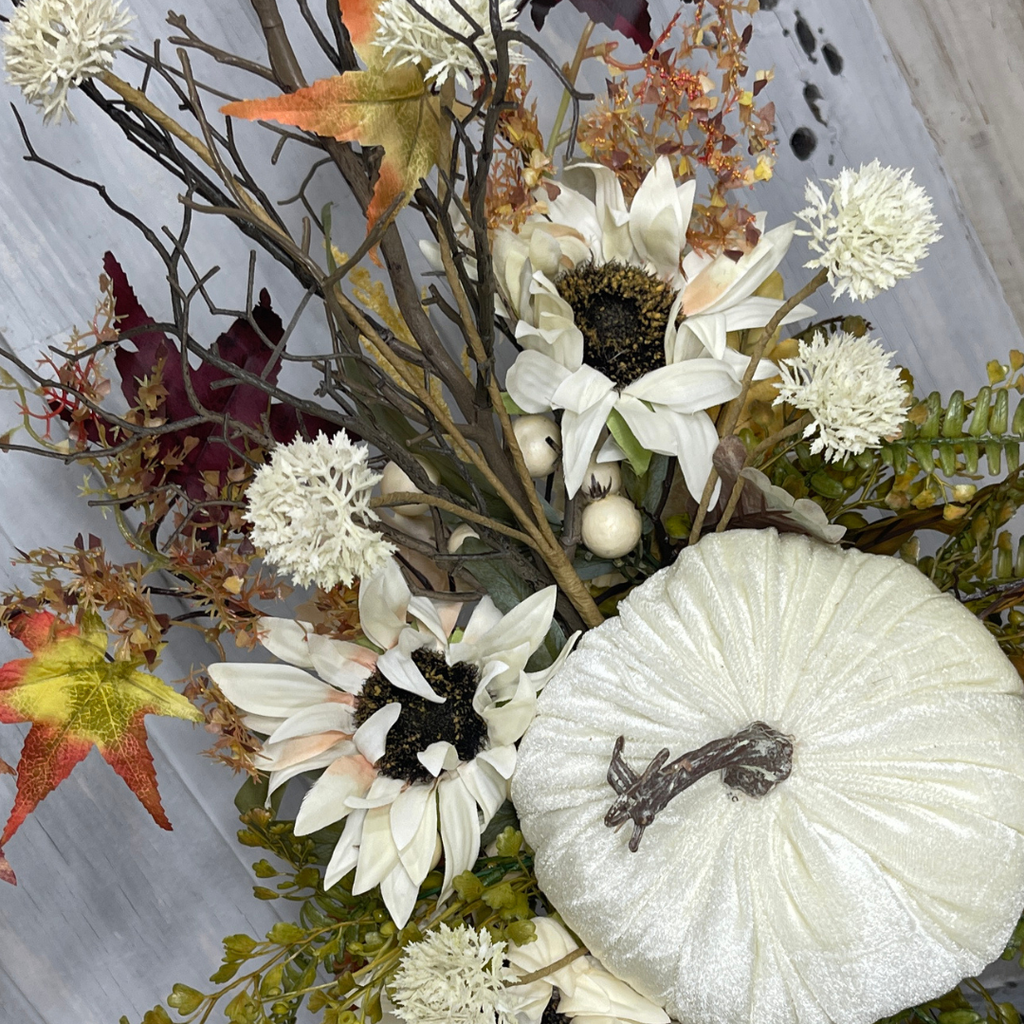
After the larger focal elements are established, the greenery begins connecting everything.
Kelea uses muted green-yellow fern because its color relates to both the sunflowers and the other autumn foliage.
Instead of leaving the stems flat, she manipulates and shapes each piece before adding it.
Greenery sits beneath the pumpkin.
Some extends outward.
And some come from behind.
That variation creates the layered look that keeps a floral arrangement from feeling flat.
Let Some Greenery Break the Existing Lines
Kelea explains that it is okay—and preferred—for some of the greenery to break the plane of the other leaves.
In other words, don’t line every stem up neatly behind the material that’s already there.
Let some pieces move forward.
Let others come out farther.
That overlap creates depth.
Keep the Back of the Arrangement Short and Finished
This is one of the most important differences between this project and a traditional centerpiece.
The back isn’t meant to be equally full.
Kelea intentionally keeps the greenery short and tight to the base so the arrangement can sit flat on a mantel or side table.
That’s smart design based on how the finished piece will actually be used.
If you’re creating something for a mantel, shelf or console that sits against a wall, you don’t necessarily need to spend supplies creating a large back side nobody will see.
You do, however, want it to look finished.
Add Dimension With the Allium
The final floral layer introduces another texture.
Kelea removes the brighter leaves from the allium first so the color stays consistent with the more muted, rustic palette. She then works the stems between the sunflowers and around the twig.
Notice that she doesn’t simply let these stems shoot straight outward.
She shortens one section when it begins extending too far.
That’s another important lesson:
Dimension doesn’t mean uncontrolled width.
You can create depth and movement while still respecting the overall silhouette.
Why This Velvet Pumpkin Centerpiece Works
There are several reasons this arrangement feels balanced even though it contains a mix of textures.
The Pumpkin Is Clearly the Focal Point
The off-white velvet pumpkin immediately gives your eye a place to land.
The Branch Establishes Height
The twig extends the arrangement upward without making it heavy.
Sunflowers Create the Design Line
The flowers move your eye from the upper portion toward the pumpkin and down through the arrangement.
Greenery Connects the Layers
Muted greenery fills gaps while helping the pumpkin, flowers and branch feel like one composition.
The Back Stays Controlled
Because the piece is intended for a mantel or side table, keeping the back compact makes the arrangement practical as well as attractive.
Shake Hands With Every Stem
One of Kelea’s recurring Design School techniques shows up throughout this project: shake hands with your materials.
That means don’t use a stem exactly as it came from the package.
Open the sunflower.
Bend the greenery.
Turn leaves toward the front.
Move branches.
Decide where you want the material to travel.
Kelea repeatedly adjusts individual leaves and stems throughout this project so each one contributes to the finished shape.
It’s one of the easiest ways to get more visual impact from the supplies you already have.
Learn the Why Behind the Design
This project is a good example of the difference between simply placing florals and learning floral design.
Why is the pumpkin placed first?
Why is the branch slightly taller than the sunflower?
Why do the sunflower heads form a triangle?
Why does some greenery come forward while other stems stay behind?
Why is the back kept short?
Those are the kinds of design decisions Kelea teaches in Kelea’s Design School so you can take the principles from one project and use them in something completely different.
➡️ https://www.keleasdesignschool.com/