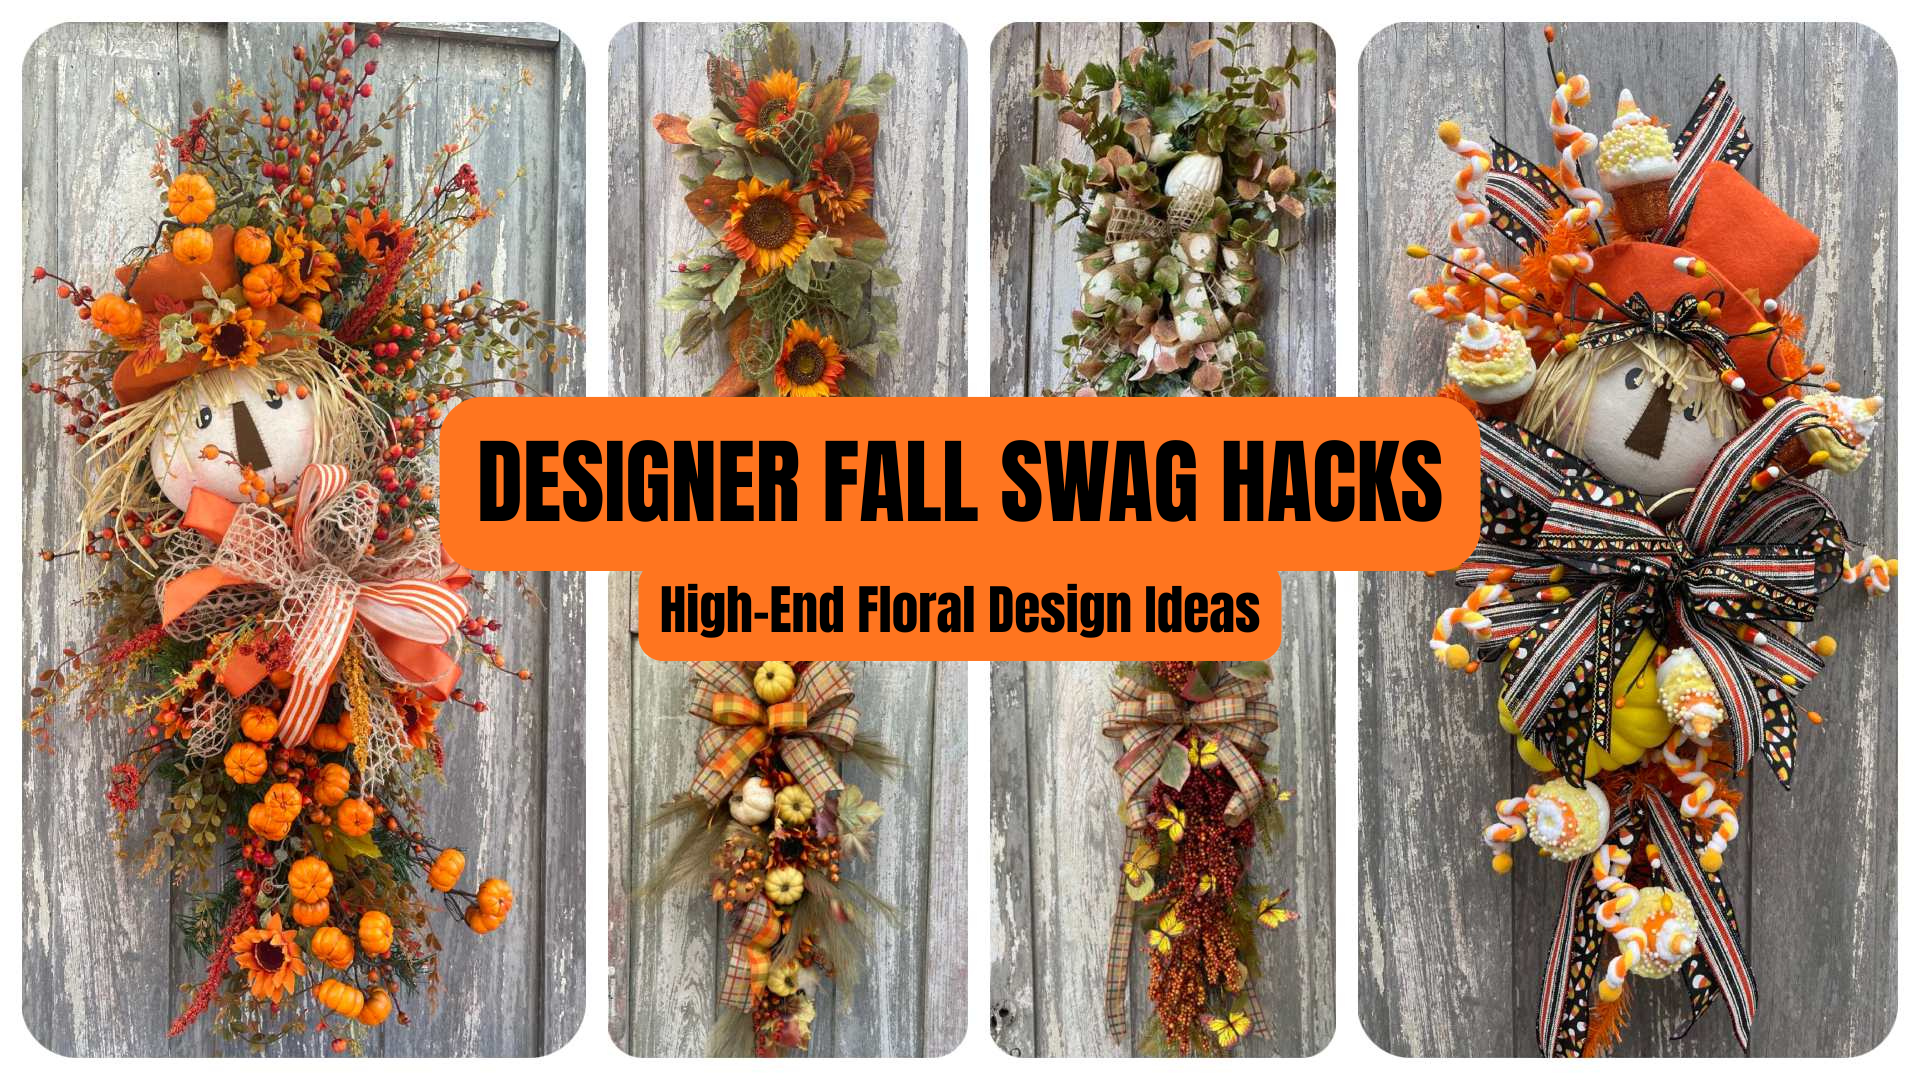
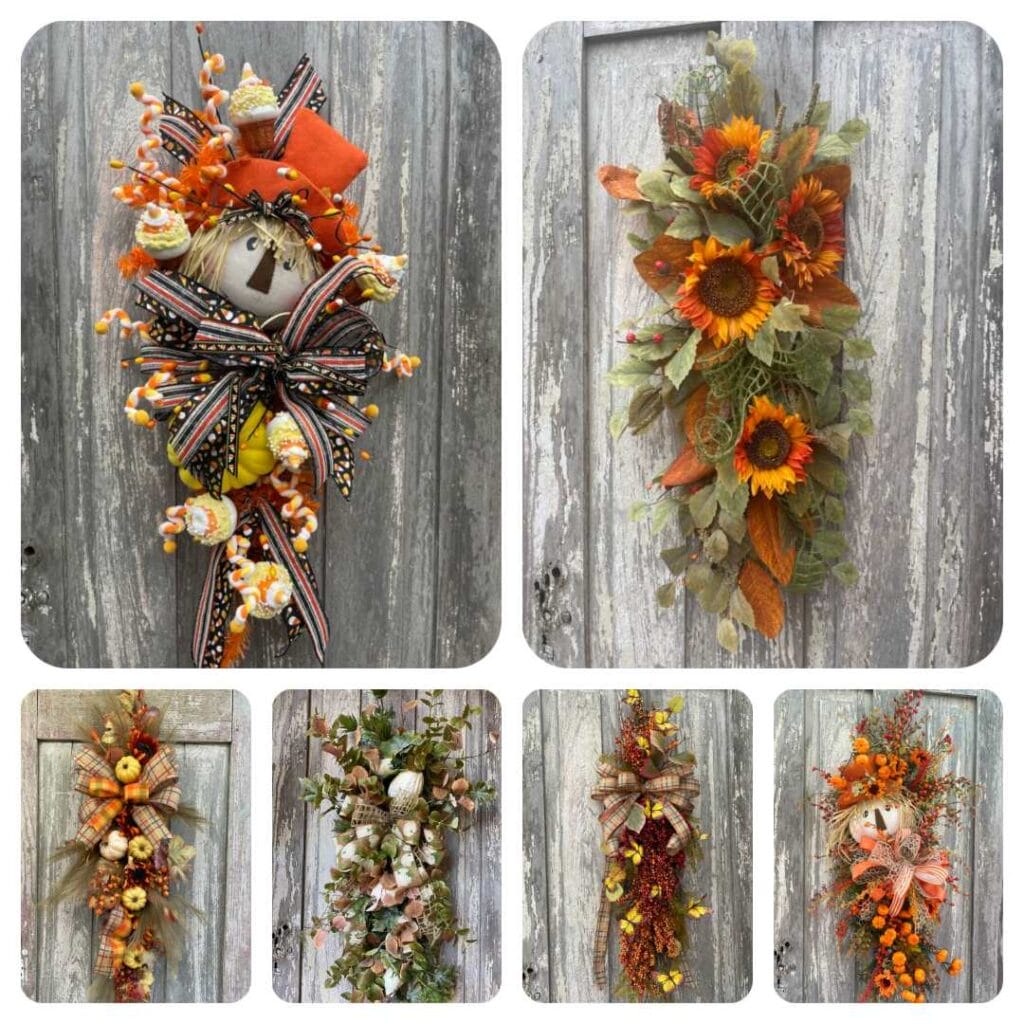
A DIY fall swag is one of my favorite ways to decorate a front door because you can create so many completely different looks from the same basic design principles. Go whimsical with scarecrows and pumpkins, traditional with sunflowers and autumn leaves, or soften the palette with natural greenery and muted fall textures.
In this collection, Kelea shares six designer fall swag ideas along with the techniques that make each one look finished, balanced, and full of movement.
➡️ See the supply lists for all six designs in Compilation 1590:
High-End Designer Fall Swag Hacks Compilation Supply List
Learn the Techniques Behind These Fall Swags
These projects aren’t just about copying where Kelea places each stem. They are opportunities to understand why certain placements work.
That is also the difference between following a project and learning floral design. In Kelea’s Design School, Kelea goes deeper into concepts such as placement, mechanics, color, texture, transition points, depth and dimension so you can eventually look at a collection of supplies and create your own design.
One example appears throughout these projects: Kelea manipulates wired materials before placing them instead of using them exactly as they came out of the package. That extra shaping helps create spacing, movement and a much more intentional finished design.
1. Establish the Shape of Your DIY Fall Swag First
Before loading a swag with pumpkins, bows and decorative picks, establish its overall shape.
Kelea calls this setting the perimeter. Longer greenery and textures establish the outside line first. As she moves down the swag, the placement becomes tighter and begins to taper.
That gives everything you add afterward a framework.
Watch for the Transition Point
A vertical swag doesn’t continue in one direction from top to bottom.
At some point, stems that were moving upward or outward need to change direction and begin flowing downward. Kelea calls this the transition point. In one of these projects, she specifically staggers the materials high and low before changing direction and working down the base.
Designer takeaway: Before adding more product because a swag feels “off,” look at its outside shape. The problem may be direction rather than fullness.
2. Create a Bow Zone Before You Add the Bow
One of the most useful techniques repeated throughout this collection is the bow zone.
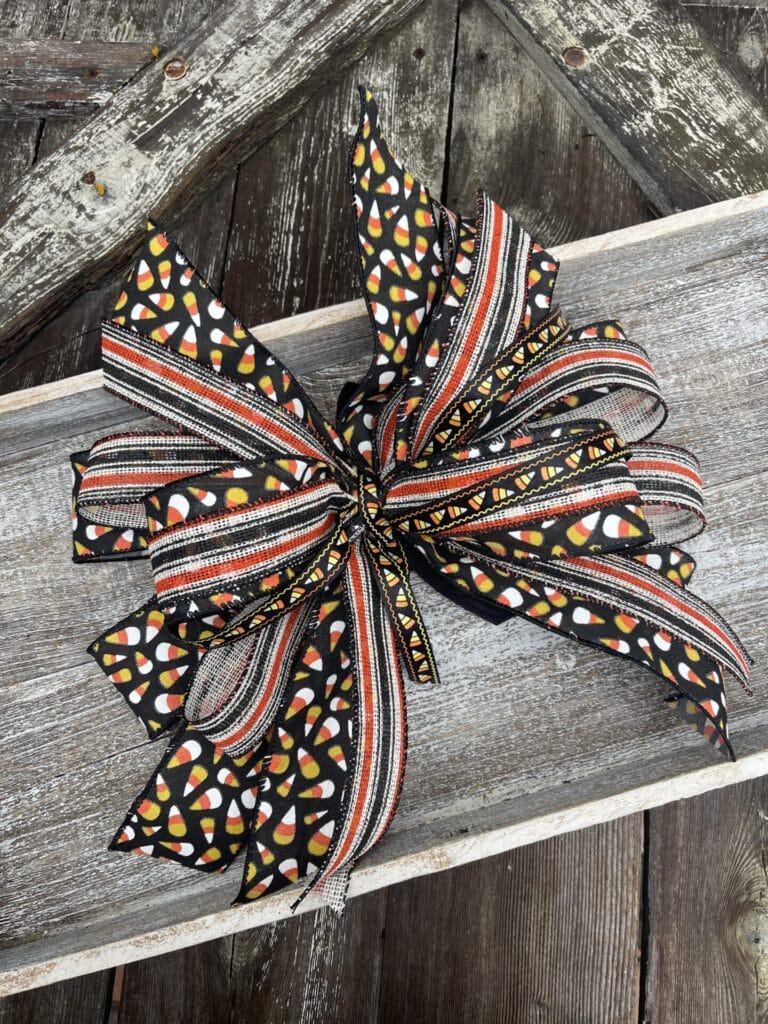
Rather than filling every open space and trying to squeeze a bow on top later, Kelea deliberately leaves an area open for it. In one project, she adjusts surrounding greenery so the bow can sit inside the design instead of looking like it was added on top.
That’s a small planning decision with a big visual payoff.
Let the Bow Become Part of the Design
Once the bow is attached, manipulate the loops and tails into the surrounding florals.
Longer tails can travel behind berries and greenery while shorter tails stay toward the foreground. This allows the ribbon to continue the flow of the swag rather than interrupt it.
3. Alternate Placement Instead of Making Everything Match
Symmetry has its place, but a designer swag doesn’t need identical stems sitting directly across from one another.
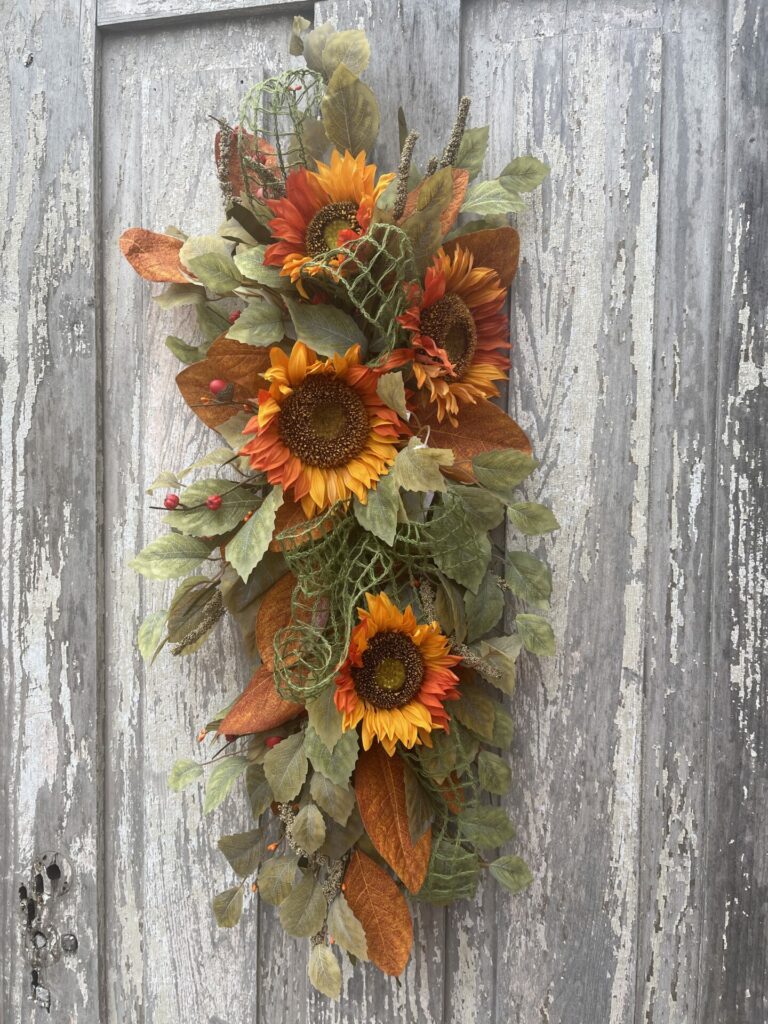
Kelea frequently works with high and low placement, alternating materials and staggering elements around the center line. In the sunflower project, for example, one piece is intentionally positioned higher and another lower because that creates a more natural flow.
Try asking yourself:
- Where is my eye traveling?
- Does everything stop on the same horizontal line?
- Can one stem move higher while another comes lower?
- Does the design naturally lead your eye from top to bottom?
That’s where a DIY fall swag begins to feel designed instead of assembled.
4. “Shake Hands” With Every Floral Before Using It
This is one of Kelea’s most useful habits.
When a wired floral, greenery stem or pick comes out of the package, don’t immediately attach it.
Open it.
Turn leaves forward. Separate branches. Bend stems. Create depth. Decide which parts belong in the foreground and which should move toward the back.
In one project, Kelea even points out a leaf facing backward and turns it forward before continuing.
She calls this “shaking hands” with the piece.
You already paid for all that beautiful material. Take a few seconds to make every stem work for the design.
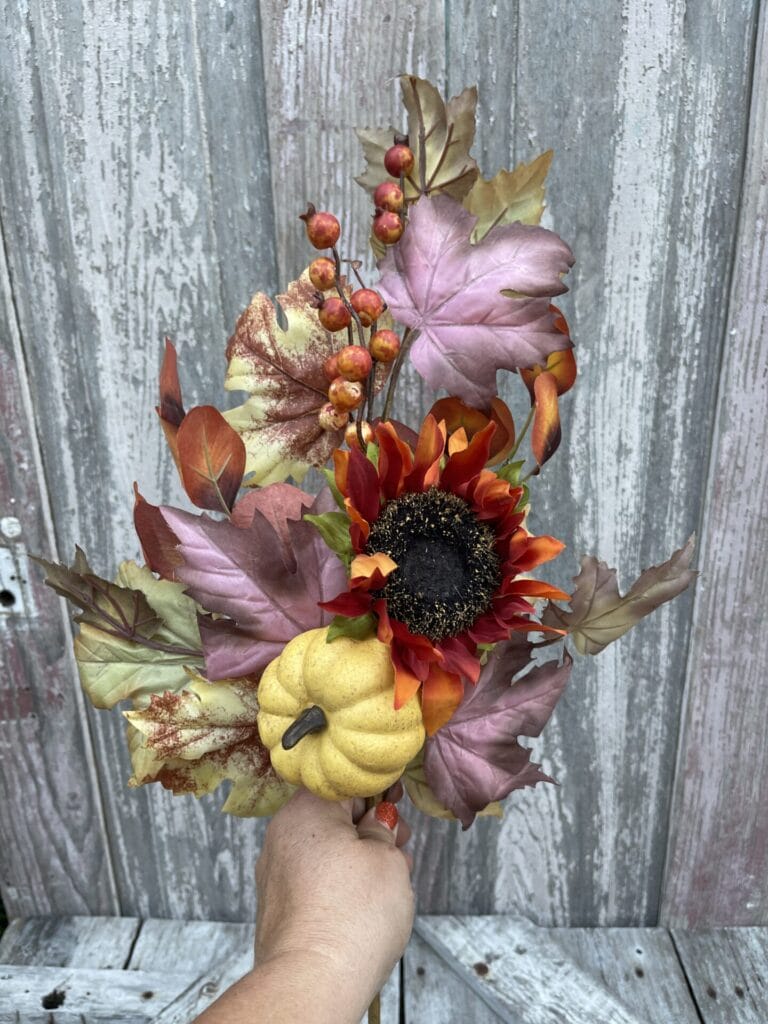
5. Use Depth to Make a Fall Swag Look Fuller
Full doesn’t necessarily mean adding more supplies.
Sometimes you need to change where the supplies are sitting.
Bring some materials forward. Push others deeper into the base. Let a few wispy elements extend beyond the main body. Layer greenery around focal pieces rather than keeping everything on one flat plane.
In the compilation, Kelea uses added pieces specifically to increase depth and dimension and manipulates materials so some move toward the front while others remain farther back.
That creates greater visual volume without simply packing more stems into the design.
6. Let Your Focal Pieces Lead the Eye
Pumpkins, scarecrows and other large elements should do more than fill empty spaces.
They can help establish the design line.
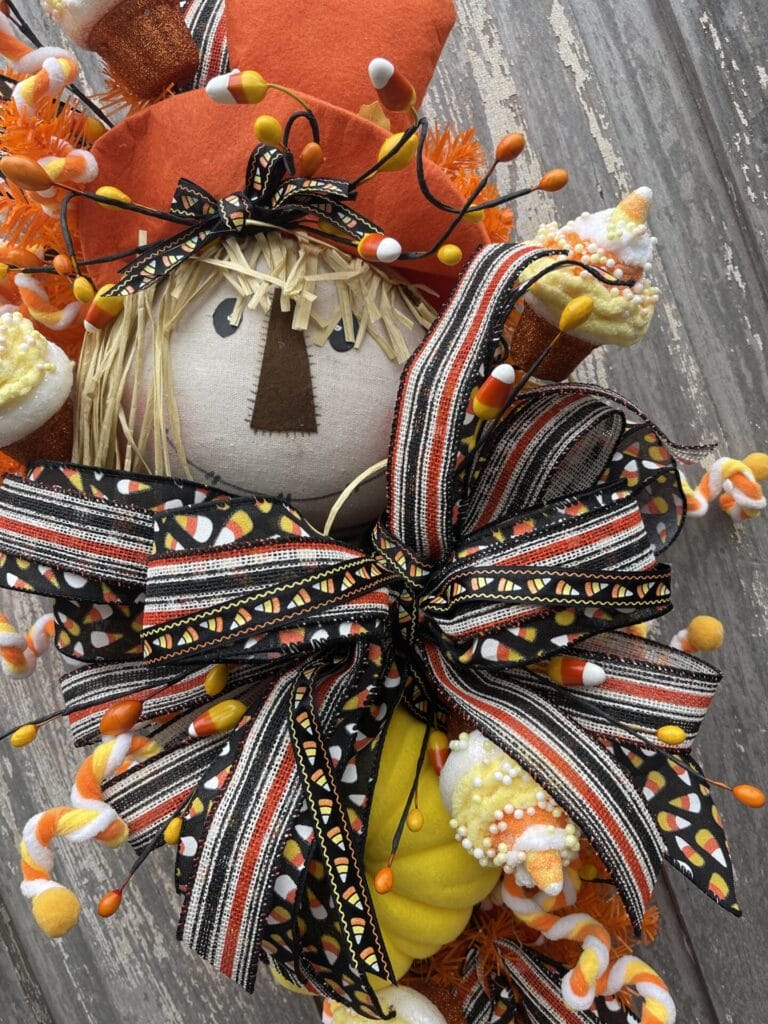
In the whimsical scarecrow project, Kelea begins with the large focal elements and deliberately alternates their direction to create movement through the swag. She also emphasizes securing foam pieces properly rather than relying on a single attachment point.
Once your focal pieces are established, smaller florals, berries, ribbon and greenery can support the path you’ve already created.
Don’t Be Afraid to Embellish a Focal Piece
You can also take a purchased element and make it feel completely integrated into your design.
Kelea does this by creating a tiny horizontal floral arrangement directly on a scarecrow’s hat using leftover greenery, berries and floral pieces.
That’s a clever way to repeat materials and make a focal piece feel as though it belongs to the entire arrangement.
7. Use Ribbon to Continue the Movement
Ribbon doesn’t have to exist only in the bow.
Additional tails can travel through the design and reinforce its direction.
In one of the natural fall swags, Kelea creates an additional ribbon tail and works it into the lower portion of the design. Because the ribbon is wired, she can shape it rather than letting it simply hang straight down.
This is especially useful when you want to carry a color or pattern from the bow into another part of the swag.
8. Break Larger Picks Apart
A floral pick doesn’t have to remain one pick.
If it contains several useful branches, berries, pumpkins or decorative elements, separate them and distribute those smaller pieces where the design needs them.
That gives you more control over placement and lets one purchased stem influence several areas of the arrangement.
Kelea uses this technique repeatedly in these projects, including breaking smaller accents into individual pieces and using them to create a continuing visual line through the center of a design.
Designer hack: Before deciding you need another stem, look at what you already have and ask whether it can be divided.
9. Good Mechanics Are Part of High-End Floral Design
The front of a swag may be beautiful, but what’s happening underneath matters too.
Kelea frequently combines attachment methods depending on the material and base. Cable ties, pine wires, floral pins and glue all have different jobs.
For foam focal pieces, for example, she explains why one pin isn’t enough and reinforces the attachment so the piece can withstand handling.
The goal isn’t simply to make something beautiful for a photograph.
It should stay beautiful when it’s hung, moved, stored, shipped or sold.
10. Start with a Premade Base When It Makes Sense
Not every designer project has to begin from scratch.
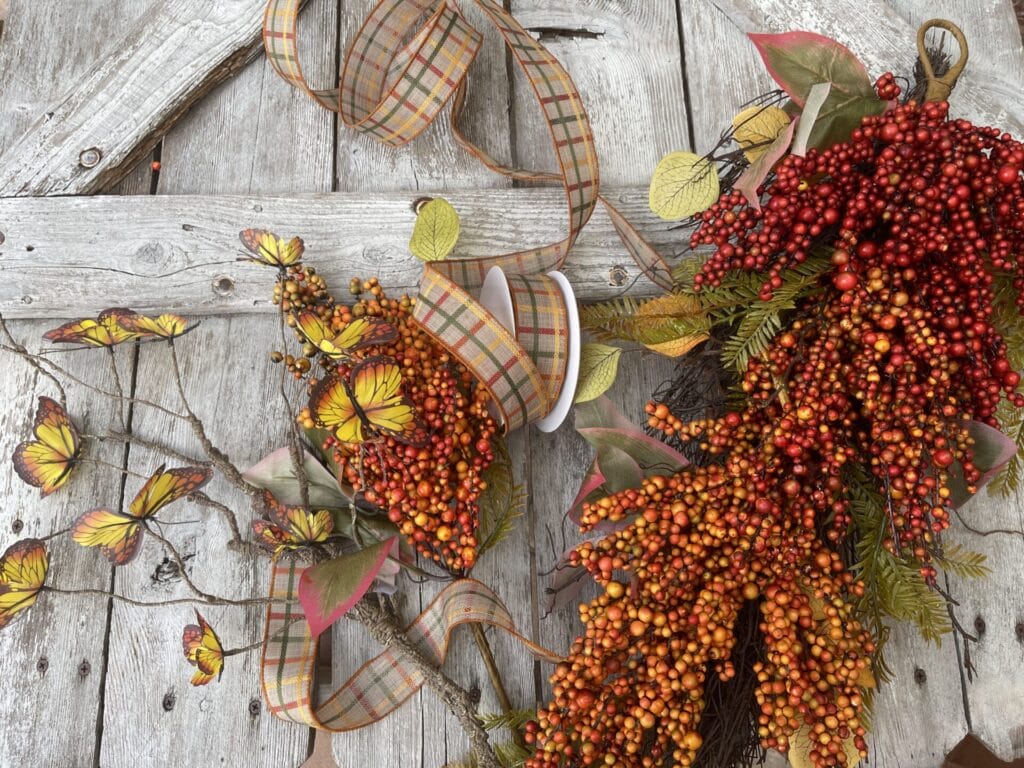
Several of these fall swags begin with premade bases that already contain greenery, berries or seasonal florals. Kelea then manipulates what’s already there and adds the elements needed to make the design her own.
One premade angel-vine base already contains berries shifting from red to rust and orange. Instead of rebuilding it, Kelea adds a bow and additional elements to create more depth and dimension.
Another project uses a soft, tone-on-tone combination and can be assembled quickly by overlapping two components while leaving a small area for the bow.
That’s not taking a shortcut.
It’s choosing the right starting point for the project you want to make.
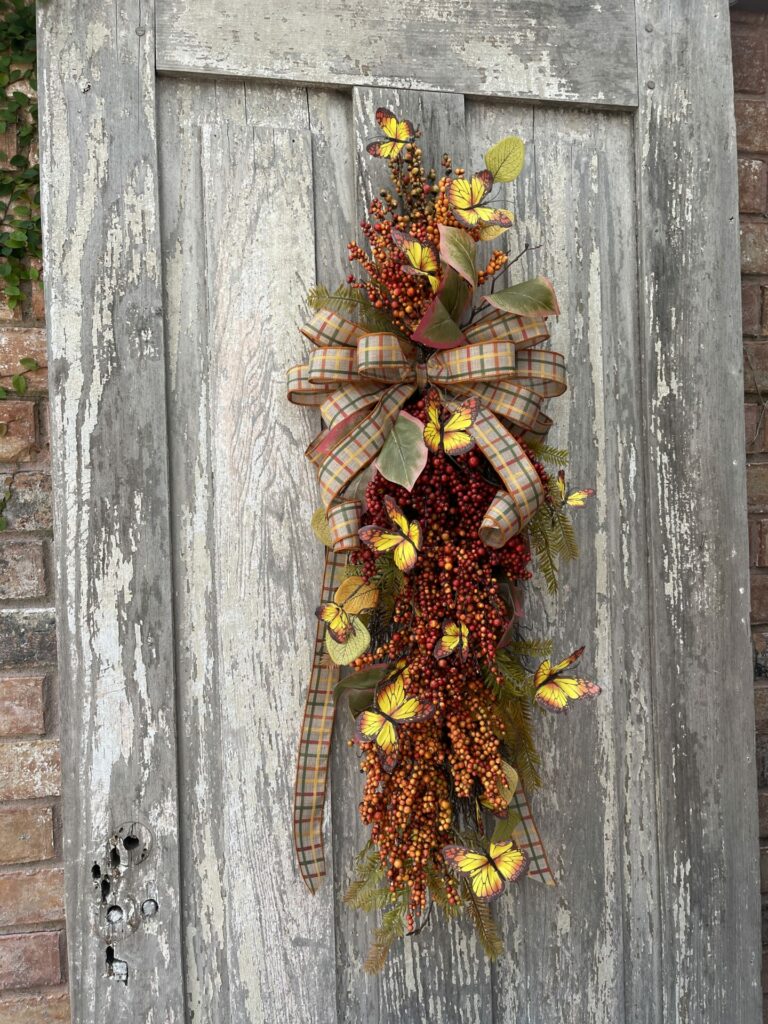
Which Fall Swag Style Is Your Favorite?
That’s what makes this collection so useful: there isn’t one single look.
You can go whimsical with scarecrows, pumpkins and playful ribbon. Choose sunflowers and autumn foliage for a traditional fall palette. Or work with muted greenery and natural textures for something softer.
Once you understand the underlying techniques—perimeter, transition points, bow zones, depth, direction and strong mechanics—you can begin applying them to completely different supplies.
➡️ See the Supply Lists for All 6 High-End Designer Fall Swags — Compilation 1590
Frequently Asked Questions About DIY Fall Swags
What can I use as a base for a DIY fall swag?
These projects demonstrate several possibilities, including pine and premade seasonal swag bases. The best choice depends on the style you’re creating and how you plan to attach your materials.
How do I make a fall swag look fuller?
Start by opening and shaping every wired floral. Then layer materials at different depths instead of keeping everything on one flat plane. Longer perimeter pieces can create visual volume without overcrowding the center.
Where should the bow go on a fall swag?
There isn’t one required position. Kelea often establishes a bow zone before adding surrounding materials so the bow has enough room to sit naturally within the design.
How do I create movement in a vertical swag?
Use directional placement. Alternate high and low elements, stagger stems and establish a transition point where your materials begin changing from outward or upward movement to a downward flow.
Can I use a premade swag base?
Yes. A premade base can give you an established foundation while leaving plenty of room to customize the design with ribbon, florals, pumpkins and other seasonal elements.
How do I hide the mechanics in a fall swag?
Choose attachment materials that blend into the base when possible, trim excess cable ties and use surrounding greenery, florals and ribbon to conceal attachment points.
Can these fall swag techniques be used with different supplies?
Yes. That’s one of the biggest advantages of learning the underlying design principles. Perimeter, direction, depth, transition points and secure mechanics can be applied to many different seasonal styles.
Learn More Than the Project
If you enjoy making projects like these but want to understand why a design works, that’s where Kelea’s Design School goes further.
Kelea teaches the principles behind floral design—placement, mechanics, color, texture, movement, depth and dimension—so you’re not limited to recreating one project exactly. The goal is to give you the skills to make the design your own.