Today we are going to be using a premade swag base to help you get a quick win in your next romantic floral door swag! With just a few supplies and tools required plus your premade velvet bow you can have this simple door swag done in little to no time!

Romantic Floral Door Swag Tutorial
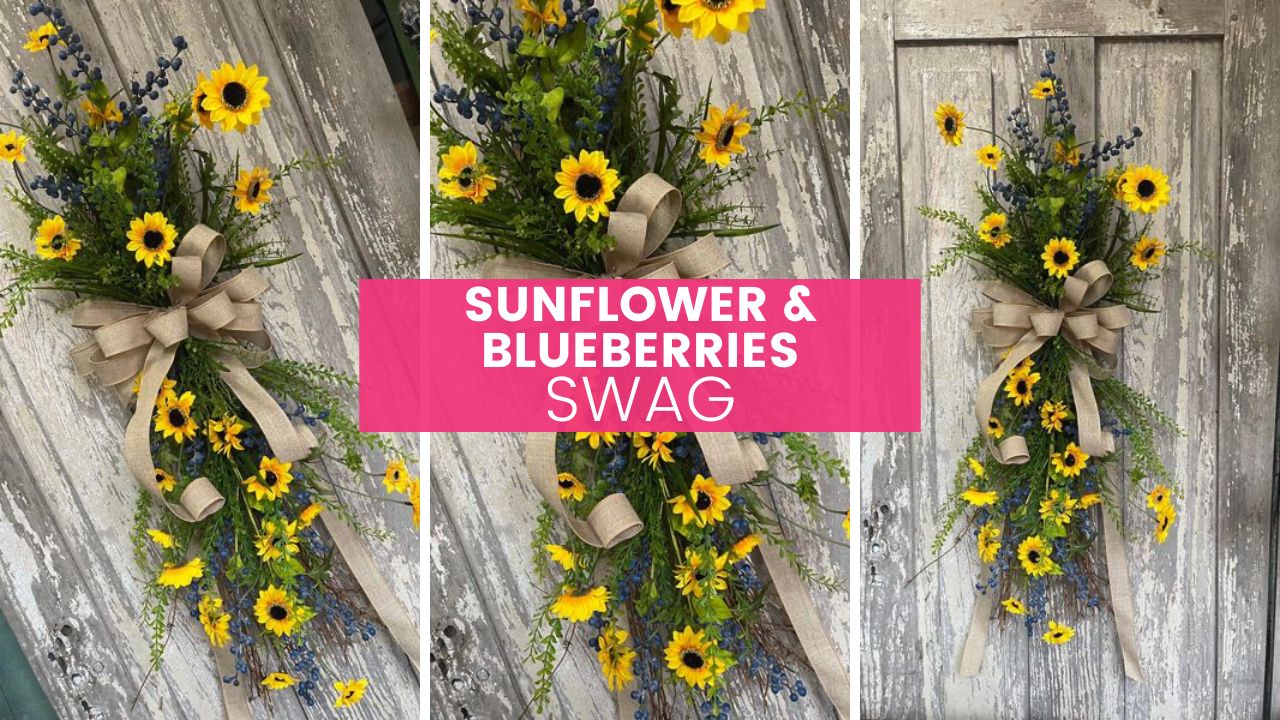
In this tutorial, we are going to show you how easy it is to make a premade swag base into an awesome floral door swag. Just by adding a few extra touches to the spray.
You do not want to miss out as I talk about what shaking hands is when prepping a spray for creating.
Supplies and Tools
- Premade swag base
- Cheetah Print Ball Pick
- Spray with coordinating florals
- Scissors
- glue pot
- glue sticks
- cable ties
How to Make a Romantic Floral Door Swag
- Prep your base and figure out where you are going to put everything together. Rotate some of your floral pieces upward and gathered them together.
- Lay your coordinating floral on top of the premade spray. Lay it right into the center.
- Cut your stem down as it will likely be way too long
- Fluff and manipulate these pieces to mesh together.
- Using cable ties to secure the two sprays together. One at the top, one at the middle, and one at the bottom will be just perfect.
- Give it the shake test and make sure nothing seems to lose
- Trim the cable ties down
- If you see any mechanics you can trim a flower bud off your spray and glue it on top of the cable tie that is showing.
- Attach your bow by using a cable tie to secure it to the stem of your spray.
- Fluff your bow and thread your bow tails to break the plain of your piece.
- Using your cheetah ball pick break it up into two pieces.
- Twist your group of two together and secure the cheetah ball picks above the velvet bow and secure with a cable tie. Use a leaf off your spray and glue it to your cable tie to hide your mechanics. Take a leaf from the bottom that isn’t shown. You can use moss if you have no leaves to choose from.
- Now attach your group of three cheetah balls 3/4 of the way down.
- Lastly, fluff your bow and give your design a quick glance. Adjust any pieces you see that need rearranging. Now you are done, enjoy your hard work!
Want to learn more?
Join the free Facebook group Keleas Bloomarino Buds Wreath Making Community