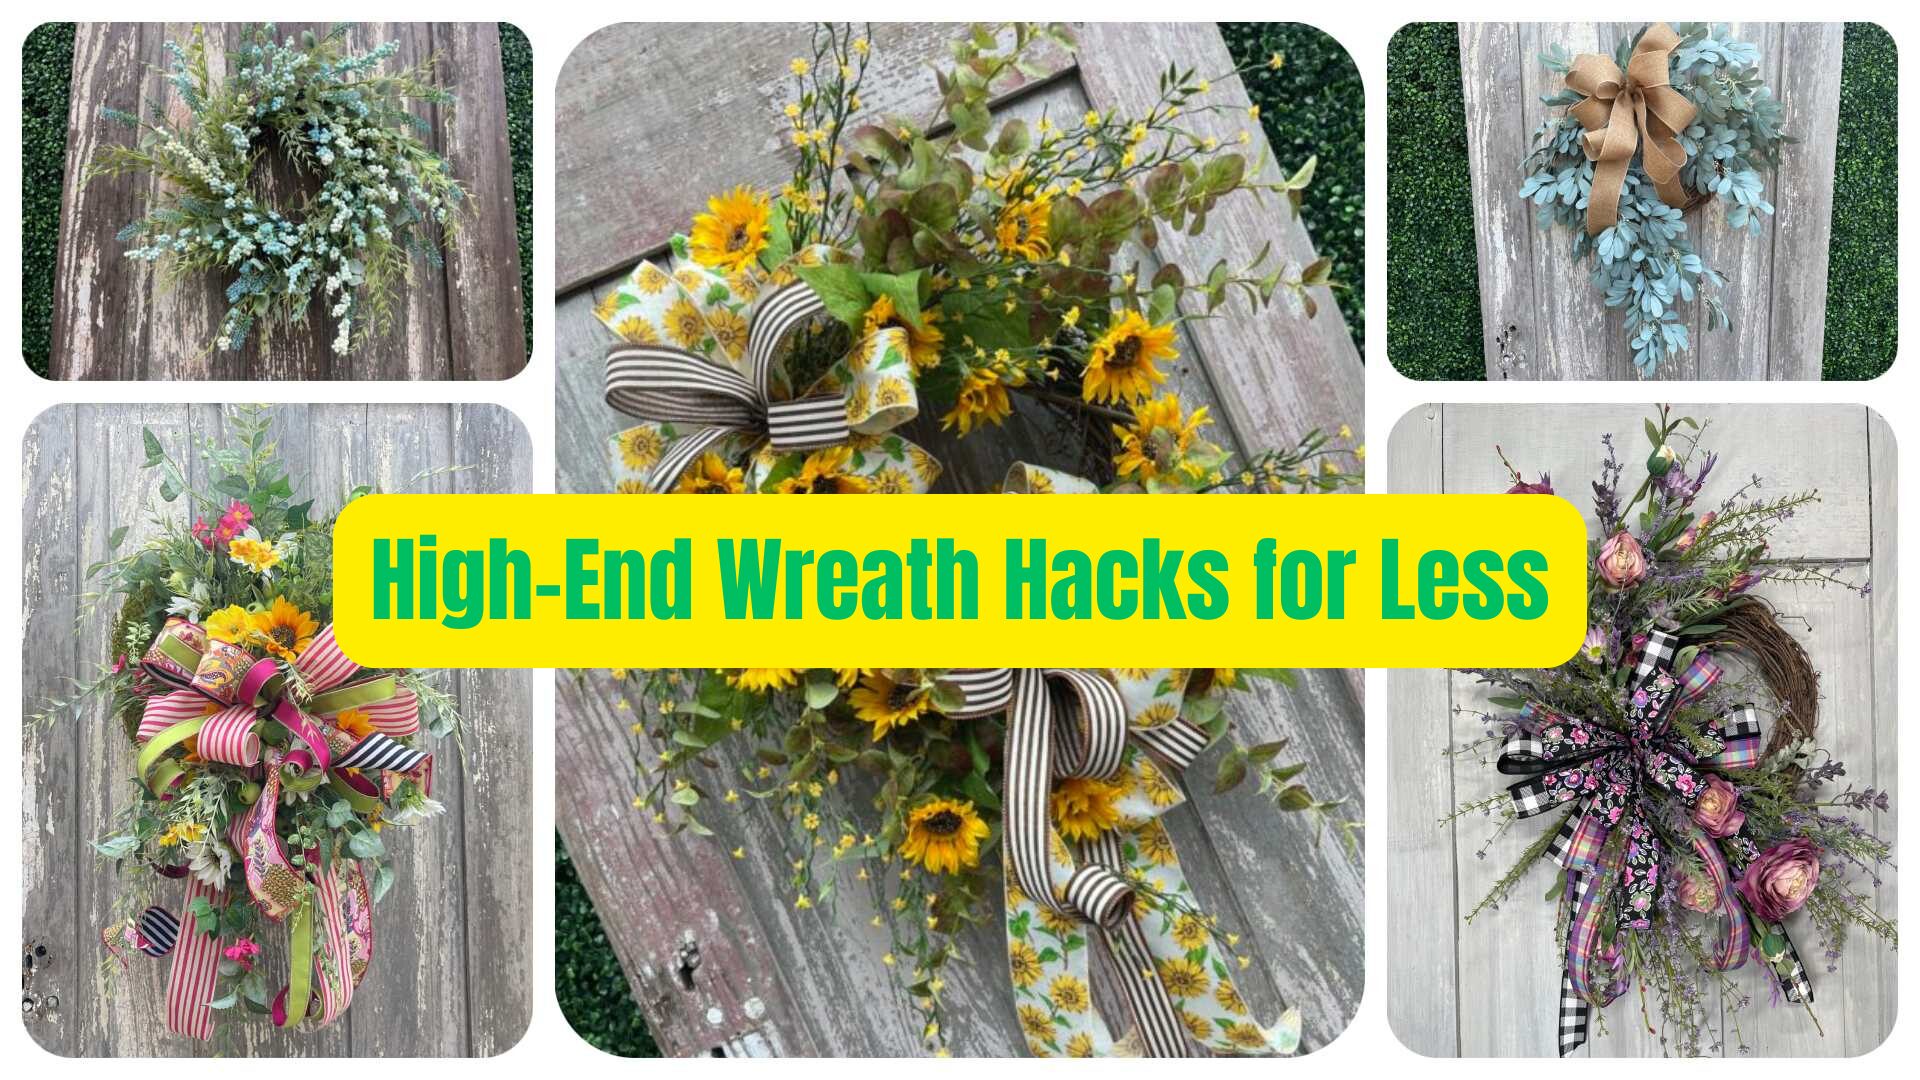
Today I am teaching you how to turn a cute garland into a eucalyptus year round wreath. I hope you take away some great wreath making skills in this tutorial and see just how simple and easy is to make a wreath using just a garland and a grapevine form.
Eucalyptus Year Round Wreath
I am so excited to share this project with you. I love the smell of eucalyptus, and it’s one of my favorite evergreens to work with. Check out the DIY Pink Peony Wreath and how I incorporated the eucalyptus greenery into that wreath! I love love love working eucalyptus into any piece I can!
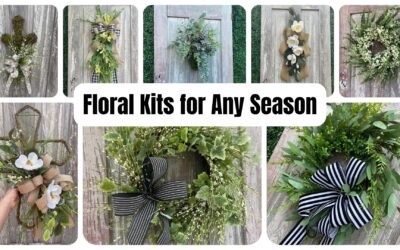
I am also excited to show you how to make a eucalyptus wreath you can use year round. Having a wreath you can use year round really has its benefits. It’s that wreath you can always quickly grab when you are switching out decor so your door or wall doesn’t look bare between the transitions. You can always throw this wreath up during those moments.
This wreath is very simple to make but let me tell you, it will be such a great wreath to use for decorating your home as well. I love hanging it on my front door, or I sometimes sit on a shelf for a simple but beautiful decoration. The possibilities are endless with this simple but easy creation.
All you have to do is simply cut your garland into sections and then you place your sections around your wreath. Working your way around your grapevine. Ya’ll let me tell you this is so simple! I know I keep saying that but it is true. This is for sure a quick win when it comes to wreath making. Can’t wait to see what you create so be sure to tag me on Facebook once you have created your beautiful eucalyptus year round wreath.
Happy crafting!

Ingredients
Light Green Dried Spanish Moss
directions
- Take your Eucalyptus garland and cut it down into sections with your wire cutters. Try to find a spot that makes sense along the stems of your garland. Continue this throughout the entire garland.
- Grab your 14” grapevine wreath base and start placing larger Eucalyptus stems along the inside of your base. Make sure each stem follows the same direction as you continue around the base. Start by placing a stem at the points of a clock. Dip the ends into the hot glue and secure them into your grapevine wreath.
- It can be helpful to organize your Eucalyptus stems depending on how many branches they have, to help with you are continuing to place them. Add a branch with two stems in between each section, remembering to follow the same direction. Bend any branches if necessary.
- Fill in any empty holes with the single Eucalyptus branches securing them with hot glue. Keep staying on the inside of the wreath base as you add more stems. When you’ve reached the desired look you are going for, add any bows or embellishments you’d like or leave as is!