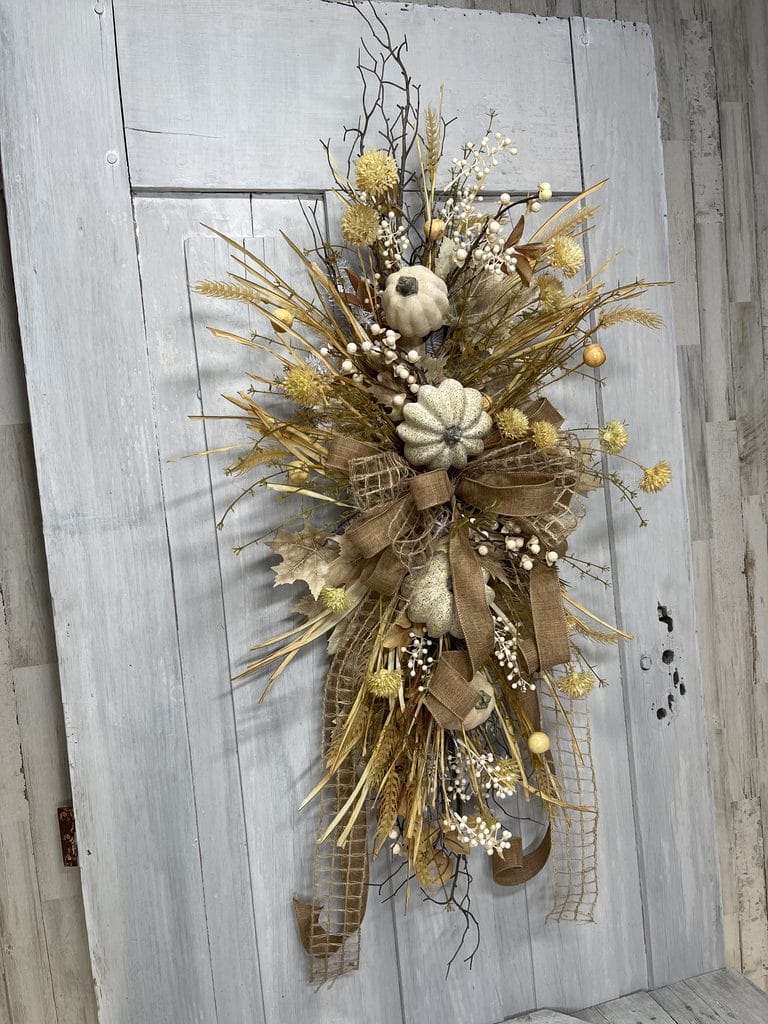
A white pumpkin fall wreath is a beautiful way to decorate for autumn when you want something softer than traditional orange, rust and red.
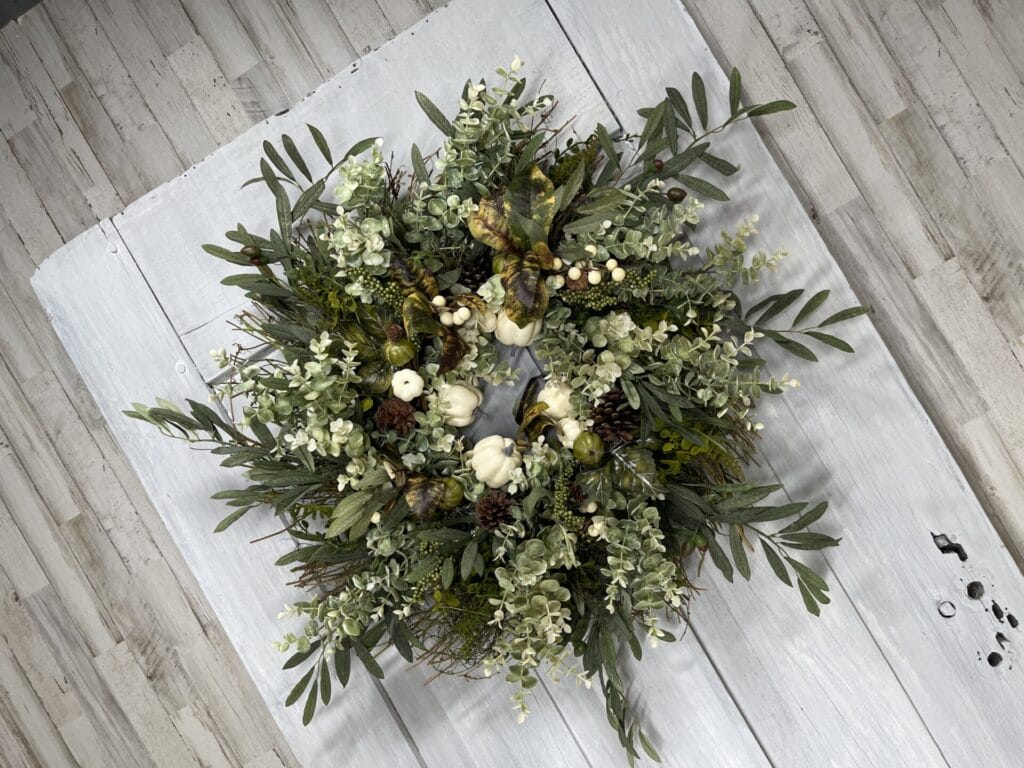
This design combines small white and green pumpkins with olive branches, eucalyptus and a full moss-and-fern wreath base. The result is a neutral fall wreath with plenty of texture and movement while still giving you that unmistakable touch of autumn.
In the video tutorial, Kelea also teaches a simple placement system that makes an all-the-way-around wreath much easier to build. Instead of guessing where each stem belongs, you’ll divide the wreath into sections and build your layers from there.
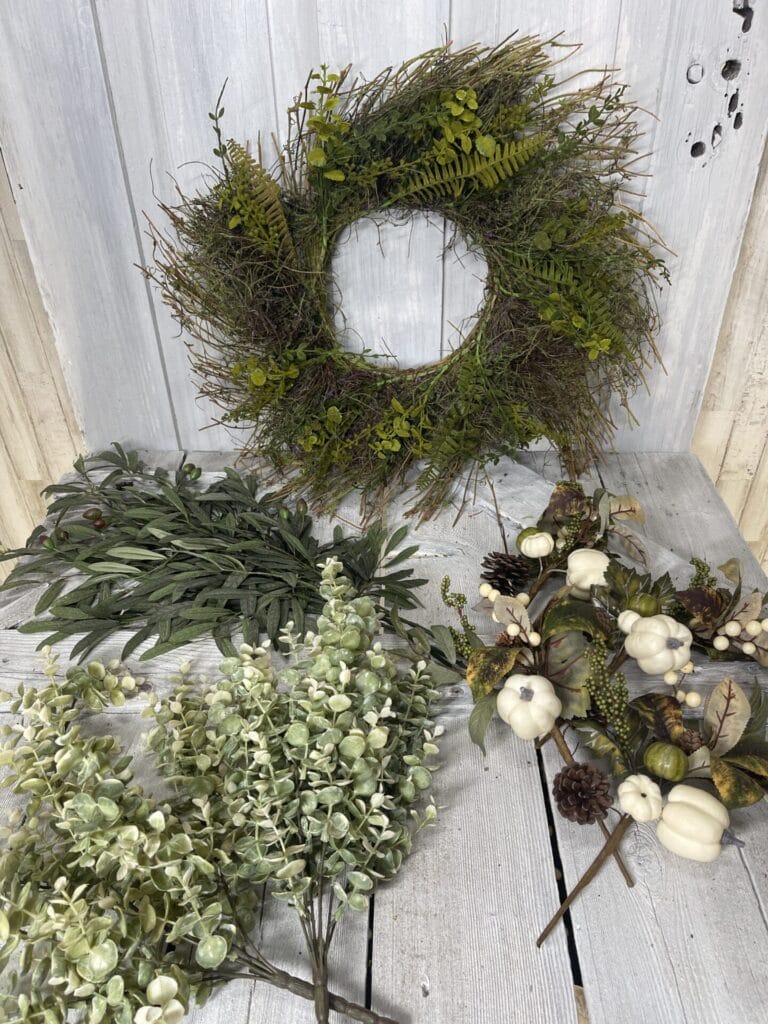
Ready to make this project?
[Shop the Autumn Olive & White Pumpkin Wreath Kit]
Watch the complete tutorial:
[Watch the Autumn Olive & White Pumpkin Wreath Tutorial on YouTube]
Learn the Design Techniques Behind the Wreath
A project like this is about more than knowing where to glue a pumpkin.
Inside Kelea’s Design School, you’ll learn how to work with placement, movement, color, texture, depth and dimension so you can understand why a design works and use those same principles in your own projects.
[Learn More About Kelea’s Design School]
Why This White Pumpkin Fall Wreath Works
The beauty of this wreath starts with its color palette.
Instead of introducing strong traditional fall colors, Kelea keeps everything muted. The small white pumpkins provide the lightest element, while green pumpkins, olive foliage, eucalyptus, fern and natural vine create layers of soft greens and earthy tones.
That restrained palette allows the different foliage textures to become part of the design.
The finished wreath feels full and detailed without needing a large variety of colors.
Start with a Full Moss and Greenery Wreath Base
One reason this project comes together so beautifully is the base.
Rather than beginning with a bare grapevine wreath, Kelea starts with a premade moss wreath containing fern, vine and subtle touches of lavender.
Before adding anything new, she prepares the existing greenery.
Shape the Base Before Adding Your Fall Florals
Work your way around the entire wreath and open the fern.
Move the heavier vine toward the back and encourage the greenery to move outward rather than forward into the center.
Then step back.
Look at the wreath from the outside and check for obvious openings or areas where the existing foliage feels uneven.
Starting with a balanced base makes every layer that follows easier to place.
Use White Pumpkins to Divide Your Fall Wreath
The four pumpkin picks aren’t simply decorative accents. They establish the structure for the entire wreath.
Kelea places them at:
- 12 o’clock
- 3 o’clock
- 6 o’clock
- 9 o’clock
Now the round wreath has been divided into four visual quadrants.
That gives you reference points for everything that comes next.
Keep the Pumpkins Toward the Inside
Notice in the finished wreath that the pumpkins aren’t floating around the outer perimeter.
They stay closer to the inside of the wreath.
This keeps the lightest elements concentrated around the center opening while allowing the greenery to create the larger silhouette.
If you’re worried about spacing, position the four pumpkin picks first before gluing them permanently. Once you’re happy with the balance, secure each one.
Add Olive Branches to Build the Wreath Perimeter
Next, Kelea breaks the olive branches into smaller usable sections.
The first pieces go between the pumpkin placements.
If your pumpkins mark 12, 3, 6 and 9 o’clock, the olive foliage begins filling those spaces while reaching farther toward the outside of the wreath.
This starts creating a new perimeter.
Give the Olive Branches Movement
Don’t leave long wired greenery perfectly straight.
Add a gentle bend.
The branches should appear to move around the wreath rather than shoot straight out from it.
Kelea works clockwise, which is a helpful way to maintain a consistent flow as you move around a round design.
After that first olive layer is established, longer pieces can be positioned between the existing greenery to extend and bridge the perimeter.
Layer Eucalyptus into Your White Pumpkin Fall Wreath
The lighter eucalyptus changes the look of the wreath immediately.
Its softer green helps pull out the creamy white pumpkins while creating contrast against the deeper olive foliage and moss base.
This is where the muted color palette really begins working.
Rather than adding one completely different color, you’re layering different values of green.
Work Between Your Existing Placements
Again, you don’t need to guess.
Start between the pumpkin picks and work around the wreath.
Then use shorter eucalyptus pieces closer to the pumpkins and toward the foreground.
This creates layers:
Pumpkins toward the inside → lighter eucalyptus → olive foliage → existing moss and fern base
That progression helps create depth instead of leaving all the materials sitting on the same visual plane.
Use Triangle Placement for a Polished Fall Wreath
Once the main layers are established, Kelea uses another technique we’ve seen in her designs: triangle placement.
If you have a few longer pieces remaining, don’t distribute them randomly.
Imagine three points forming a triangle around the wreath.
Add a little more of that particular foliage at those three points.
Your eye recognizes the repetition and balance without seeing an obvious pattern.
This is particularly helpful when you want to thicken certain areas or extend the wreath’s silhouette without making the entire design uniformly larger.
Soften the White Pumpkin Picks with Greenery
The pumpkins provide structure, but you don’t want each pick to look like a separate piece that has simply been stuck into the wreath.
The solution is layering.
Toward the end of the project, Kelea takes remaining eucalyptus and tucks smaller sections around the pumpkins.
This softens their edges and visually connects them to the rest of the wreath.
Instead of seeing:
pumpkin — greenery — pumpkin — greenery
your eye begins seeing one complete composition.
That’s a small finishing step with a big effect.
Use Your Final Olive Pieces for Texture
Save those little leftover pieces.
Near the end, Kelea uses small olive branches slightly farther out from the center.
Because the wreath was divided into four quadrants at the beginning, she can easily see where each small piece should go.
If you still have an extra piece after the quadrants are balanced, use it where you see a hole.
This is one reason I like saving smaller cuttings until the end. They’re perfect problem-solvers.
Why Neutral Fall Colors Work So Well
Neutral doesn’t have to mean plain.
This wreath proves it.
You have:
- Deep olive green
- Soft eucalyptus green
- Moss
- Fern
- Natural vine
- Creamy white pumpkins
- Small green pumpkins
- Pine cone details
- Subtle berry and floral textures
There’s plenty happening visually.
The difference is that all those elements live within a controlled color palette.
That makes this white pumpkin fall wreath particularly versatile if your home already uses cream, white, green, wood tones or other neutrals.
How to Make an All-Around Wreath Easier to Design
Round wreaths can be deceptively difficult because there isn’t an obvious “starting point.”
Kelea’s quadrant technique solves that.
Think of your wreath like a pie divided into four pieces.
Step 1: Establish four focal points
Use the pumpkin picks at 12, 3, 6 and 9.
Step 2: Fill between the focal points
Add the first olive foliage between the pumpkins.
Step 3: Fill between those placements
Add additional greenery between your first olive pieces.
Step 4: Introduce another color value
Layer the lighter eucalyptus between and around the established elements.
Step 5: Return to the foreground
Use shorter pieces around the pumpkins and center opening.
Step 6: Step back and fill holes
Only after the overall structure is complete should you use those final little pieces.
This method gives you a roadmap without making the finished wreath look rigid or perfectly symmetrical.
Tips for a Fuller, More Natural Fall Wreath
Step Back Often
You can’t properly judge a wreath when your face is inches away from it.
Step back and look at the entire silhouette.
Work in Quadrants
If one section looks thinner than the others, you’ll spot it much more easily when you’re thinking in four sections.
Keep Your Center Open
The pumpkins and short greenery can fill the inner portion without completely closing the center of the wreath.
Vary Your Greenery Lengths
Long pieces create the perimeter and movement.
Medium pieces bridge layers.
Short pieces add fullness and soften focal elements.
Don’t Waste the Small Pieces
Those little cuttings are valuable near the end when you need to fill one small opening without adding an entire stem.
Hide Your Mechanics
If visible glue appears around the grapevine or vine base, tuck in a little Spanish moss to camouflage it.
Where to Display a Neutral White Pumpkin Fall Wreath
Because the colors are so versatile, this wreath can work in several areas of your home.
Try it:
- On your front door
- On an interior door
- Over a mantel
- On a kitchen wall
- Above a console table
- In an entryway
- On a covered porch
- Against a natural wood or neutral backdrop
The soft white pumpkins clearly say fall, while the greenery keeps the design from feeling tied to one specific autumn holiday.
Frequently Asked Questions About a White Pumpkin Fall Wreath
Is this white pumpkin fall wreath beginner friendly?
Yes. The quadrant placement method gives you clear starting points, and the premade greenery base means you’re not beginning with an empty wreath.
Why place the pumpkins at 12, 3, 6 and 9?
Those four positions divide the wreath into equal sections. You can then use those quadrants to distribute the remaining greenery more evenly.
Should the pumpkins be near the outside of the wreath?
For this design, Kelea keeps the pumpkins tighter toward the inside. The longer greenery creates the outer perimeter and movement.
How do I make the greenery look natural?
Shape wired stems rather than leaving them completely straight. Slight curves and changes in direction create more natural movement.
Why use two different shades of green?
The deeper olive foliage and lighter eucalyptus create contrast and depth without introducing another strong color. The lighter eucalyptus also helps bring attention to the creamy white pumpkins.
How do I keep a round wreath from looking too perfect?
Use the quadrant system for balance, but vary the lengths, depth and exact direction of your greenery. Balanced does not have to mean identical.
What should I do with leftover small pieces?
Save them until the end. Use them to fill small openings, soften the pumpkin picks or add texture to an area that needs a little more detail.
Make Your Own Autumn Olive & White Pumpkin Wreath
This project is a great example of how a controlled color palette and thoughtful placement can completely transform a wreath.
The pumpkins establish your structure.
Olive foliage creates the perimeter.
Lighter eucalyptus brings contrast and softness.
Shorter pieces fill the foreground.
And the existing moss, fern and vine tie everything together.
The result is a white pumpkin fall wreath that’s full and polished while keeping that soft, neutral autumn look.
Kit 1575:
[Shop the Autumn Olive & White Pumpkin Wreath Kit]
Full Video Tutorial:
[Watch the Autumn Olive & White Pumpkin Wreath Tutorial on YouTube]
Keep Learning with Kelea’s Design School
If techniques such as quadrant placement, layering greenery, triangle placement, creating movement and working with depth help you feel more confident designing, you’ll find much more inside Kelea’s Design School.
The goal is to learn the principles behind the project so you can use them again when you’re creating something completely different.