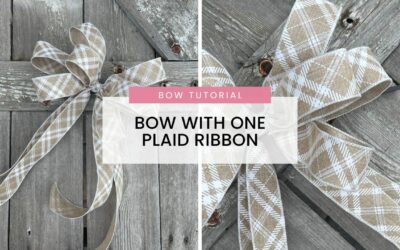
I am sharing with you an Easter Bow Tutorial to help you make an easy Easter bow using a simple 1-2-1 bow recipe.
Make Your Own Easter Bow
Crafting around the Easter holiday is a great way to get into the festive spirit, and nothing quite says “Easter fun” than some super cute bows! Bows can easily transform any wreath or centerpiece giving it that extra bit of flair. To help you join in on this Easter craze, we’ve got an awesome tutorial for creating some fabulous Easter bows!

Once made you can totally spruce up an Easter basket or add to a cute Easter bunny centerpiece.
How to Make an Easter Bow with a 1-2-1 Recipe
Directions
- Start with the multicolored Easter 4-inch ribbon and make a 20-inch tail. With a wide ribbon, make sure you scrunch it in the center before you twist. Bring your tail down towards you and trim the end at the correct angle. If your ribbon frays the best way to get rid of it is to fold it twice upward.
- Make a 7-inch loop on each side and scrunch and twist in the center. Trim your second tail at an opposite angle. If you would like you could bring the tails out 8 inches if you desire.
- Grab your second ribbon, this one would be the solid pink. Cut the tail at an angle and stagger it up 2 inches from the base ribbon. Twist in the center and make a 6 ½ inch loop on each side. Adjust the loops so they are on the bottom of the base ribbon loops.
- Repeat the same step making two more 6 ½ inch loops, don’t forget to position your loops and make sure they fall above the base ribbon’s loops. Twist in the center to secure and trim the tails at the opposite angle. You will see the loops are mirror images of each other.
- Next, take your multicolored Easter 4 inch ribbon trim the ends at an angle. Make your first tail 2 inches shorter than the previous layer and twist in the center. Make single 6-inch loops on either side, then cut the tail at the opposite angle.
- Take an 8-inch cable tie and run it right beside your center dowels and around the center of your bow. Pull it up to get some tension but not all the way closed. Push the end of the cable tie to the back and hold it in between your fingers while you fluff each of the loops. Once you have it fluffed out pull your tails towards the bottom.
- Add a second cable through the back of the first cable tie and pull it tight. Clip the ends with your wire cutters. This will be what you use to attach your bow.
- Cut a 12-inch piece of your solid pink ribbon. Fold it in half to the width you like and tie it around the center cable tie. Tie it off in the back with a double knot, being careful not to tie it too tight so it stays flat. Cut any excess ribbon from the back.
- Use your fingers to curl up any tails you would like, depending on what you plan to use your bow for.
How to tie a bow with thick ribbon?
Tying a bow with thicker ribbon can be simple. I like to use the EZ Bow maker to help me hold my ribbon in place. If you don’t have an EZ bow maker you can follow this simple 1-2-1 pattern as it help keep the thick ribbon from being too bulky to hold.
Be sure to join Keleas Bloomarino Buds Wreath Making Community to be apart of a family that enjoys helping each other learn how to create and inspire others to design! We can’t wait to see you there!


