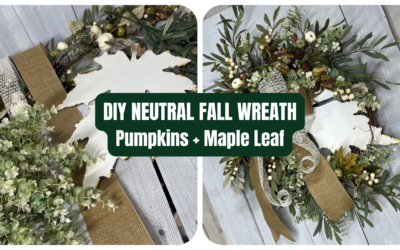
There is something about fall decorating that makes you want to start creating. Pumpkins come out, warm autumn colors start showing up everywhere, and suddenly your front door is begging for something new.
If you’re looking for DIY fall wreath ideas, this collection gives you seven completely different ways to decorate for the season — from scarecrows and pumpkins to butterflies, woodland textures, swags, wreaths, and even a candle ring.
And the best part? You don’t have to make every project exactly the same way.
Throughout these designs, Kelea shows you how to think like a floral designer: where to place your focal point, how to create movement, how to layer greenery, how to work with ribbon, and how to make intentional choices as your design comes together.
If you love learning the why behind floral design — not just where to put each stem — Kelea’s Design School is where Kelea teaches these principles in much more depth.
Now, let’s look at all seven fall projects.
1. Candy Corn Scarecrow Swag
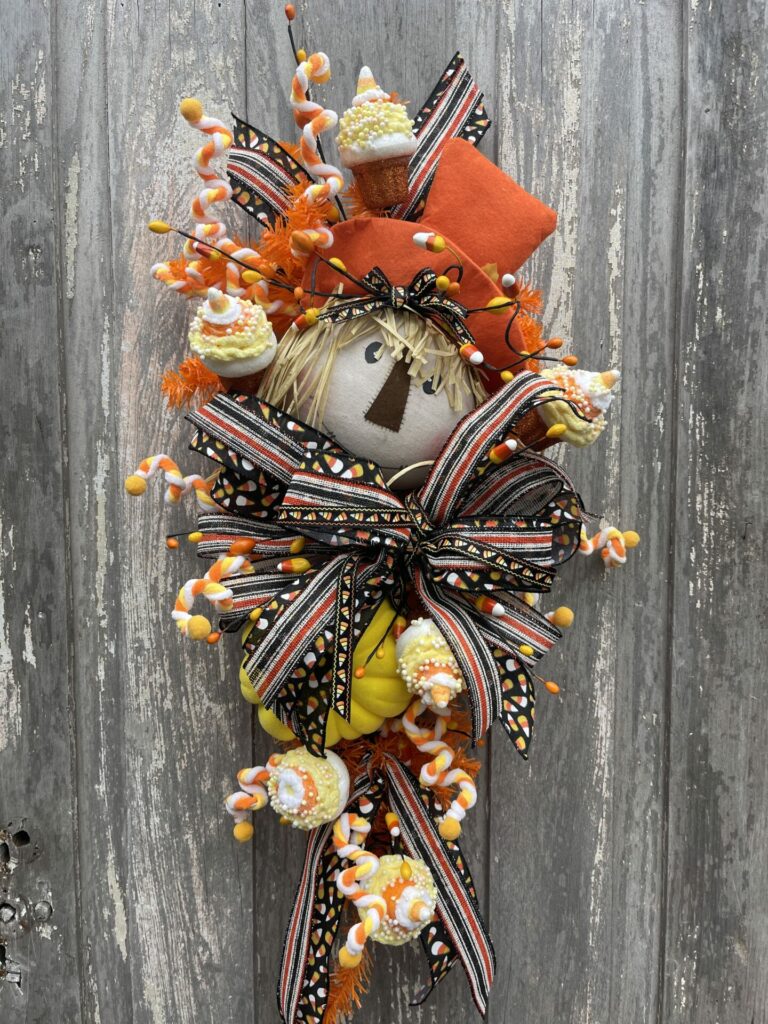
If you want fall decor with plenty of personality, start here.
The Candy Corn Scarecrow Swag combines a scarecrow, pumpkin, fall greenery, berries, sunflowers, and ribbon into a playful piece that can carry you through much of the fall season.
But there is more happening in this design than simply adding pretty pieces.
Kelea first establishes where the major focal elements will sit. She experiments with the position of the bow, pumpkin, and scarecrow before permanently attaching them. That planning determines where the remaining greenery and florals need to go.
One of the most important lessons is something you can use in almost any wreath or swag:
Decide where your major elements belong before filling the design with greenery.
Once those focal pieces are established, the greenery becomes the background. Sunflowers introduce another layer and the berries repeat the orange found elsewhere in the design, helping pull everything together.
Kelea also points out that her finished design is a guideline. You can change the placement or even save some of the materials for another project.
That freedom is part of the fun.
2. Fall Butterfly Swag

Butterflies aren’t only for spring.
The Fall Butterfly Swag takes them straight into autumn with berries that transition from red to rust and orange, natural-looking textures, ribbon, angel vine, and whimsical butterfly accents.
This is also a great example of how a relatively simple project can still look thoughtfully designed.
Kelea creates what she calls a “bow zone,” intentionally leaving an area open for the bow rather than filling every available space first.
She also adjusts individual elements instead of simply attaching them wherever they fit. The berries, greenery, picks, and ribbon each have a specific job in the finished composition.
Then comes the unexpected detail: butterflies.
Rather than keeping the butterfly spray intact, Kelea breaks it apart and places the individual elements throughout the swag. This spreads the detail across the design and creates more depth and movement.
It’s a good reminder that a floral pick doesn’t always have to be used exactly as it comes out of the package.
3. Cozy Cottage Fall Candle Ring
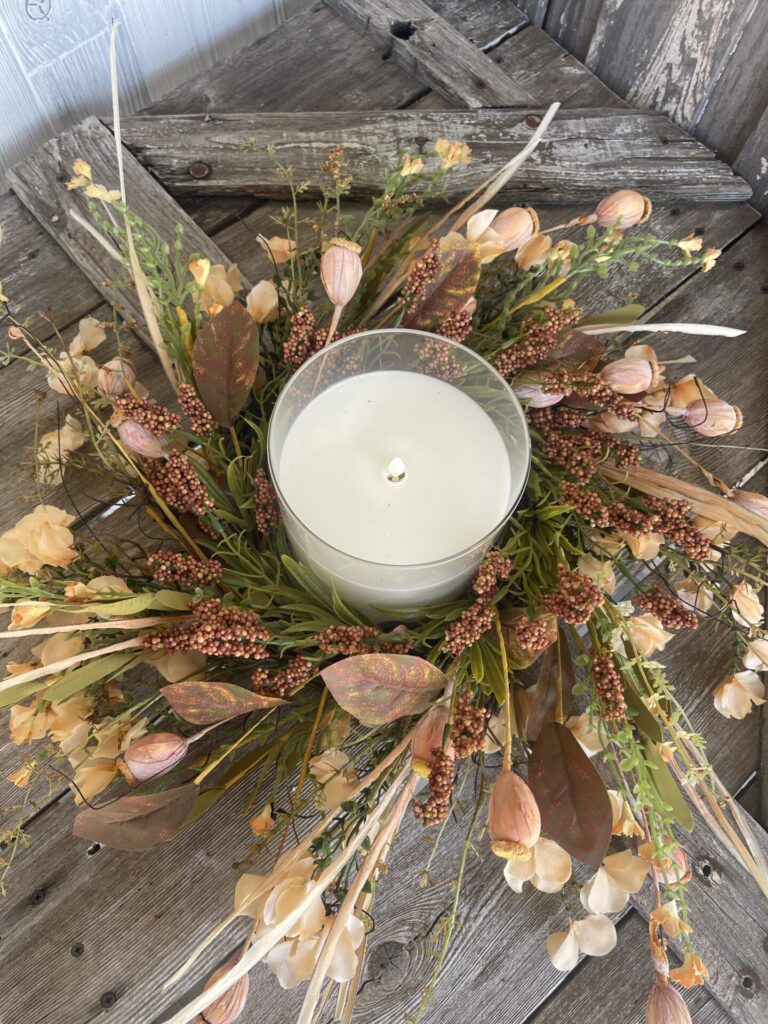
Not every fall floral design has to go on your front door.
The Cozy Cottage Fall Candle Ring brings fall decorating to a table, kitchen island, entryway, or other interior space.
Kelea begins this project by setting the perimeter — one of the floral design principles she teaches in Design School. Establishing that outside shape first gives you boundaries for the rest of the arrangement and helps determine the overall scale.
The finished piece is designed to surround a substantial candle, turning the floral arrangement into part of a larger fall display.
This is an especially useful idea if you’re decorating an open-concept home and want your fall florals to continue beyond the front door.
Try repeating similar colors or textures in a wreath, centerpiece, candle ring, and mantel arrangement. They don’t have to match exactly to feel like they belong together.
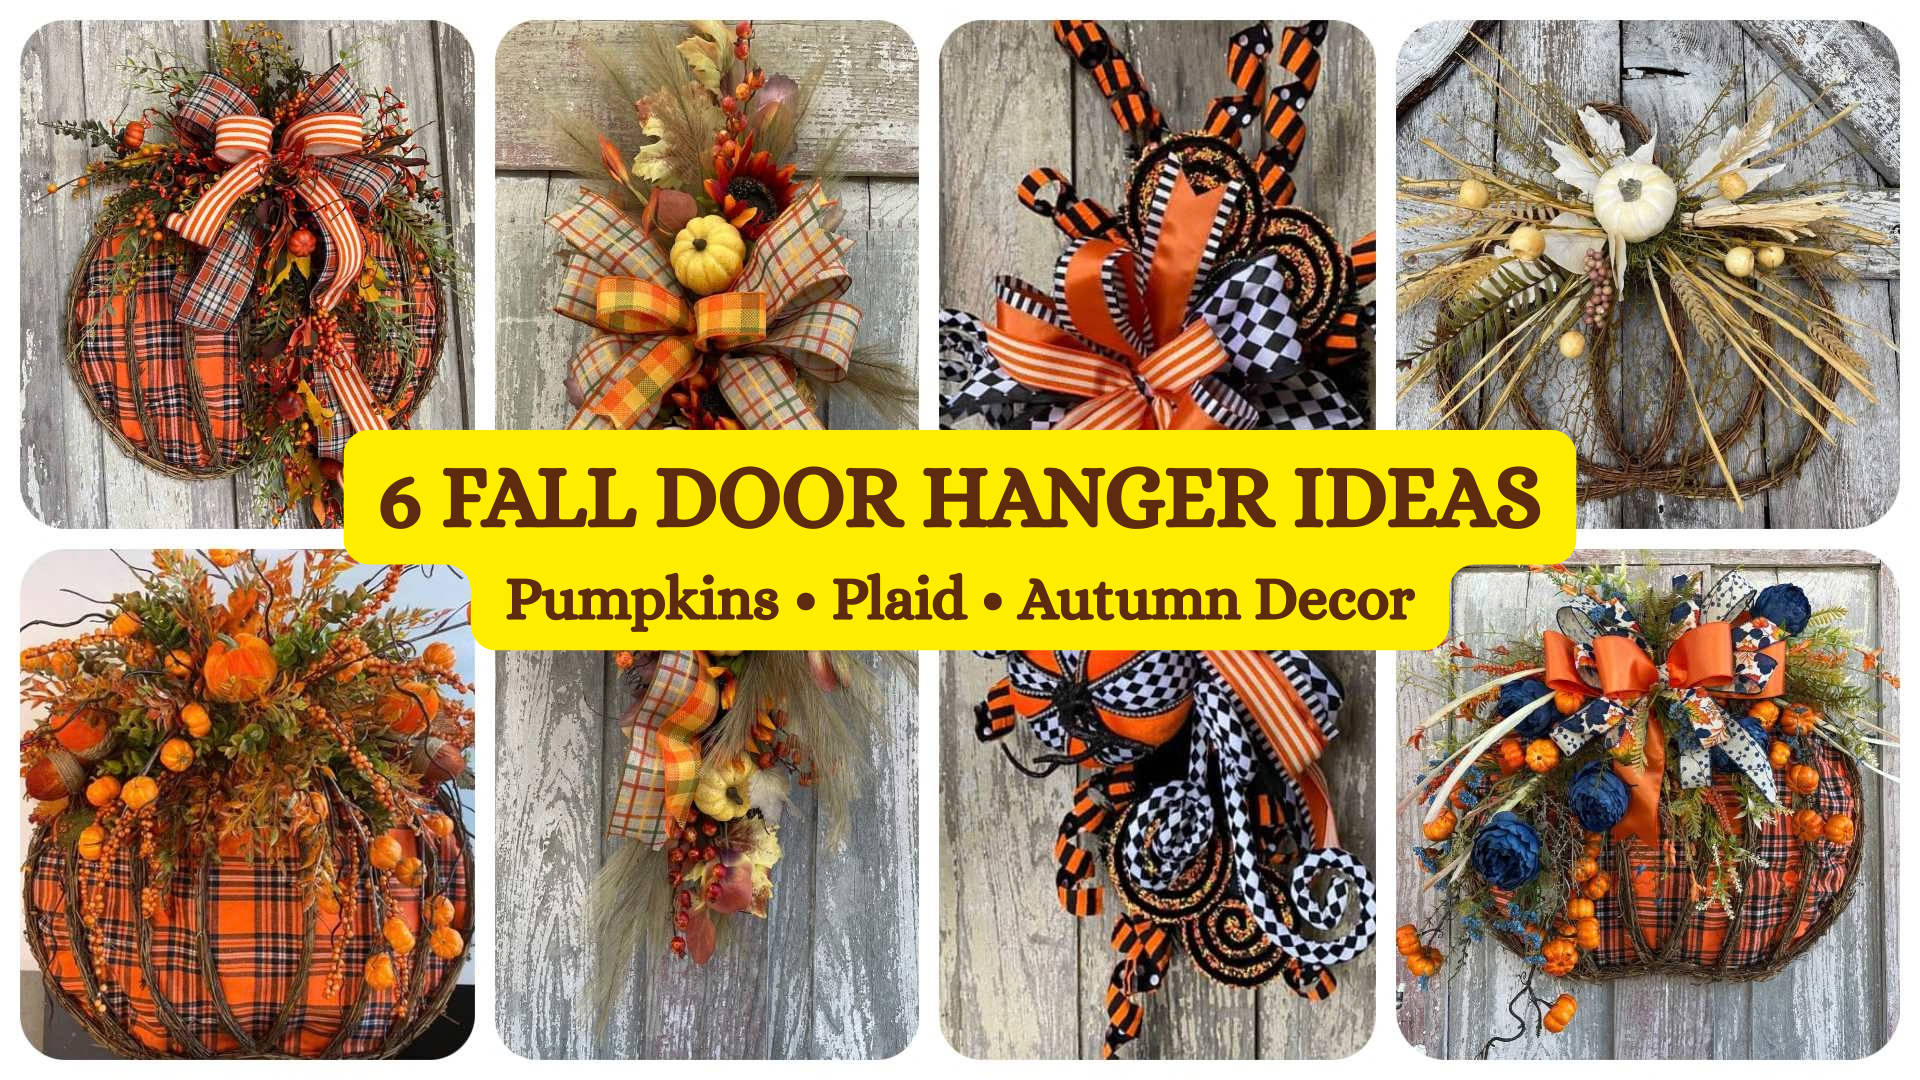
4. Fall Pumpkin Door Swag
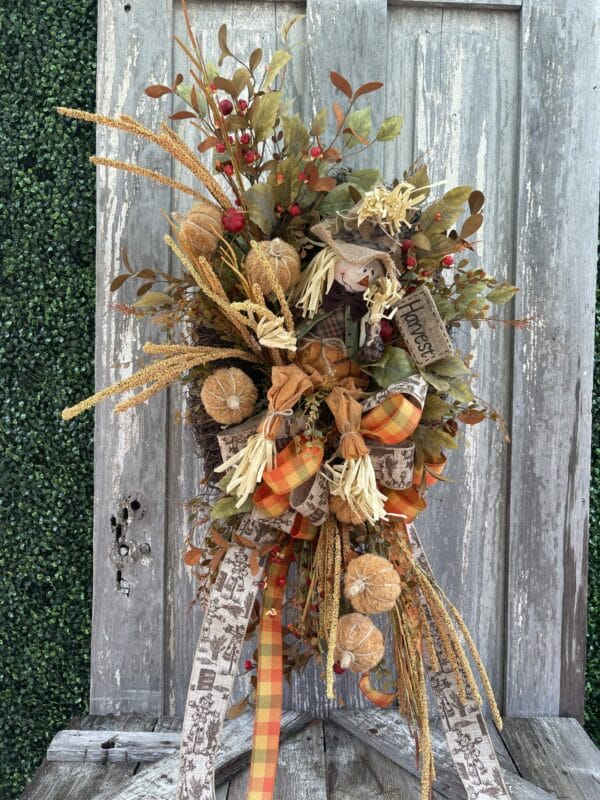
If you’re a pumpkin person, this one is for you.
The Fall Pumpkin Door Swag takes one of autumn’s most recognizable elements and turns it into vertical door decor.
Swags are a great alternative when you want something different from the traditional round fall wreath. Their longer silhouette naturally draws your eye down the door and gives greenery, ribbon, and floral elements room to move.
This is also where placement matters.
Rather than treating every stem as an individual decoration, think about the overall silhouette you’re creating. Some pieces establish width, some establish length, and others fill the spaces between those larger lines.
That is what turns a collection of fall supplies into a finished floral design.
5. Twilight Harvest Scarecrow Wreath
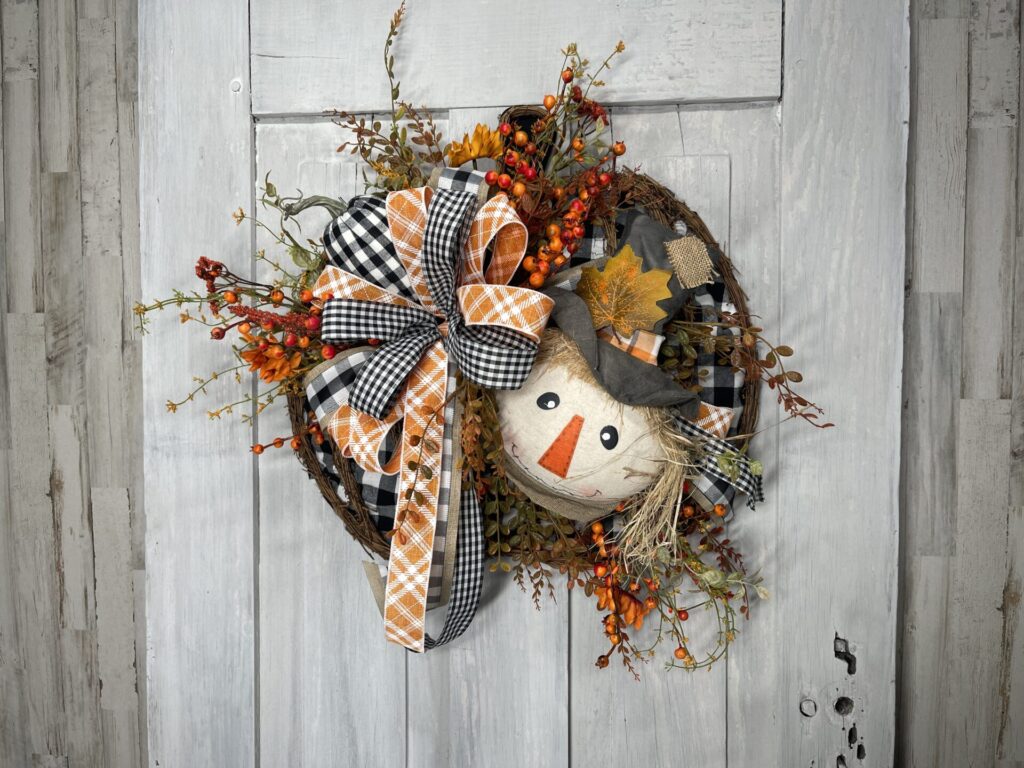
Scarecrows can be whimsical without making your entire design feel juvenile.
The Twilight Harvest Scarecrow Wreath uses the scarecrow as a focal point and builds the floral design around it.
Kelea’s process demonstrates an important principle: leave room for your focal piece.
When she begins establishing the perimeter with larger greenery, she is already considering where the scarecrow needs to sit and where the design will transition in direction. Instead of filling the wreath and trying to squeeze the focal element in later, its placement is part of the plan from the beginning.
She then changes the direction of the greenery as she moves through the design, creating what she describes as almost a mini swag running through the wreath.
This is the kind of technique that can completely change how you look at wreath making.
You’re not simply filling a circle.
You’re creating lines, direction, movement, and focal areas within that circle.
6. Scarecrow Harvest Wreath
If you like your fall wreaths big on character, the Scarecrow Harvest Wreath gives you another completely different take on decorating with a scarecrow.
One thing you’ll notice throughout Kelea’s designs is that focal elements aren’t treated as decorations added at the end.
They’re part of the structure.
The surrounding greenery, florals, ribbon, berries, and other accents support the focal piece and guide your eye through the design.
That distinction is important.
Instead of asking:
“Where can I fit this?”
start asking:
“Where do I want your eye to go first?”
Once you answer that question, the placement of everything else becomes much easier.
7. Fall Forest Wreath
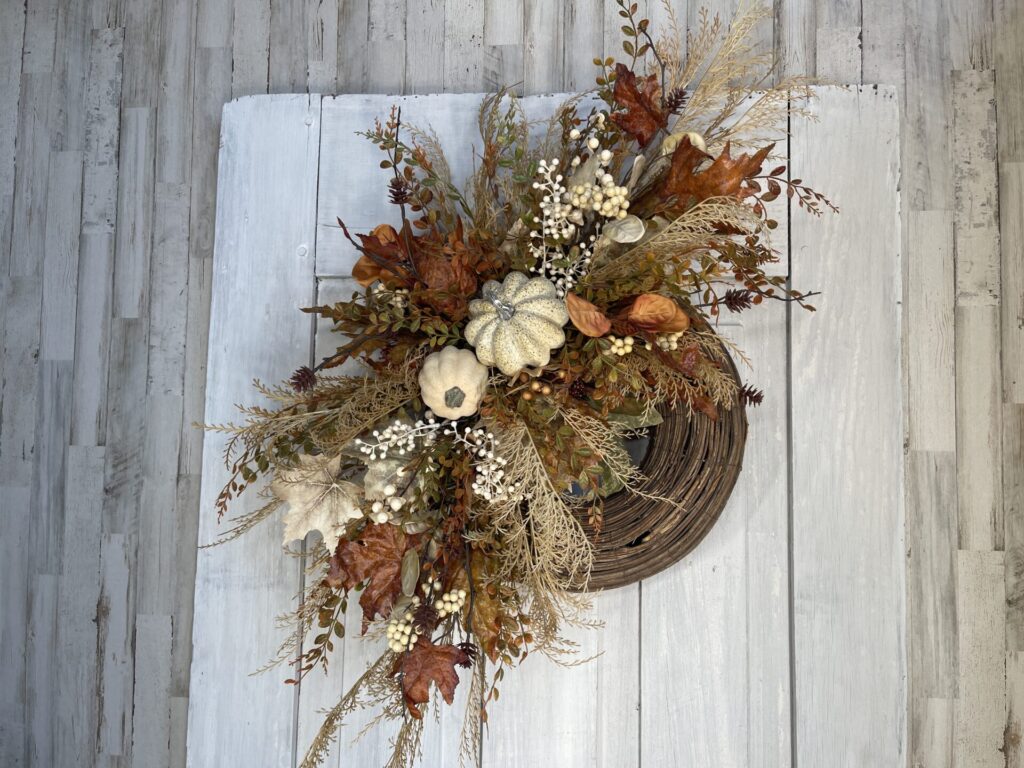
The final project takes autumn in a more woodland-inspired direction.
The Fall Forest Wreath is a great choice if you gravitate toward natural textures and fall decor that feels inspired by what you might find outdoors.
This is where layering becomes especially important.
Rather than having every floral element sit at exactly the same depth, allow some pieces to come forward while others sit farther back. Let a few stems extend beyond the main body of the wreath.
That variation keeps a wreath from becoming a perfectly flat ring of materials.
And don’t be afraid to manipulate wired stems and elements after you’ve attached them. Kelea does this throughout the compilation — bending, repositioning, fluffing, and adjusting until each element works with the overall design.
What These 7 Fall Designs Can Teach You
Although every project in this compilation looks different, several floral design lessons show up again and again:
- Set your perimeter. Decide how large and in what direction the design will travel.
- Establish your focal point. Know where you want the eye to land.
- Leave room for major elements. Don’t fill every space before adding your bow, attachment, pumpkin, or scarecrow.
- Layer your materials. Background, middle, and foreground elements create dimension.
- Pay attention to direction. Stems should help move your eye through the design.
- Manipulate your materials. Picks, sprays, greenery, and wired elements can be separated and reshaped.
- Make the design your own. A tutorial can be a starting point rather than a rulebook.
Those principles are what allow you to take what you learn from one wreath and use it when creating something completely different later.
Learn how to create designs like this one by joining
Kelea’s Design School!
Each month, we have 4 detailed tutorials, including supply lists, tips and tricks, and access to a community of fabulous designers who love to share and help each other.

Want to Make One of These Fall Designs?
You can find the supplies and available kits for all seven projects together on the Designer Fall Wreath Kits Compilation page.
See the Designer Fall Wreath Kits Compilation & Supply Lists
Choose your favorite, gather your supplies, and create right along with Kelea.
Or watch the entire compilation and see which one inspires you first. The compilation page includes the YouTube video along with each individual project.
Want to Learn More Than the Project?
Following a tutorial can teach you how to make one beautiful design.
Understanding why the design works gives you the skills to create the next one yourself.
Inside Kelea’s Design School, Kelea teaches floral design principles including placement, proportion, depth, dimension, movement, color, texture, mechanics, and how to make design decisions as you’re creating.
Learn More About Kelea’s Design School
Whether you’re decorating your own home, making gifts, selling your work, or simply looking forward to a little creative time, learning the principles behind the design gives you more confidence to make it your own.
Frequently Asked Questions About DIY Fall Wreaths
What are the best colors for a fall wreath?
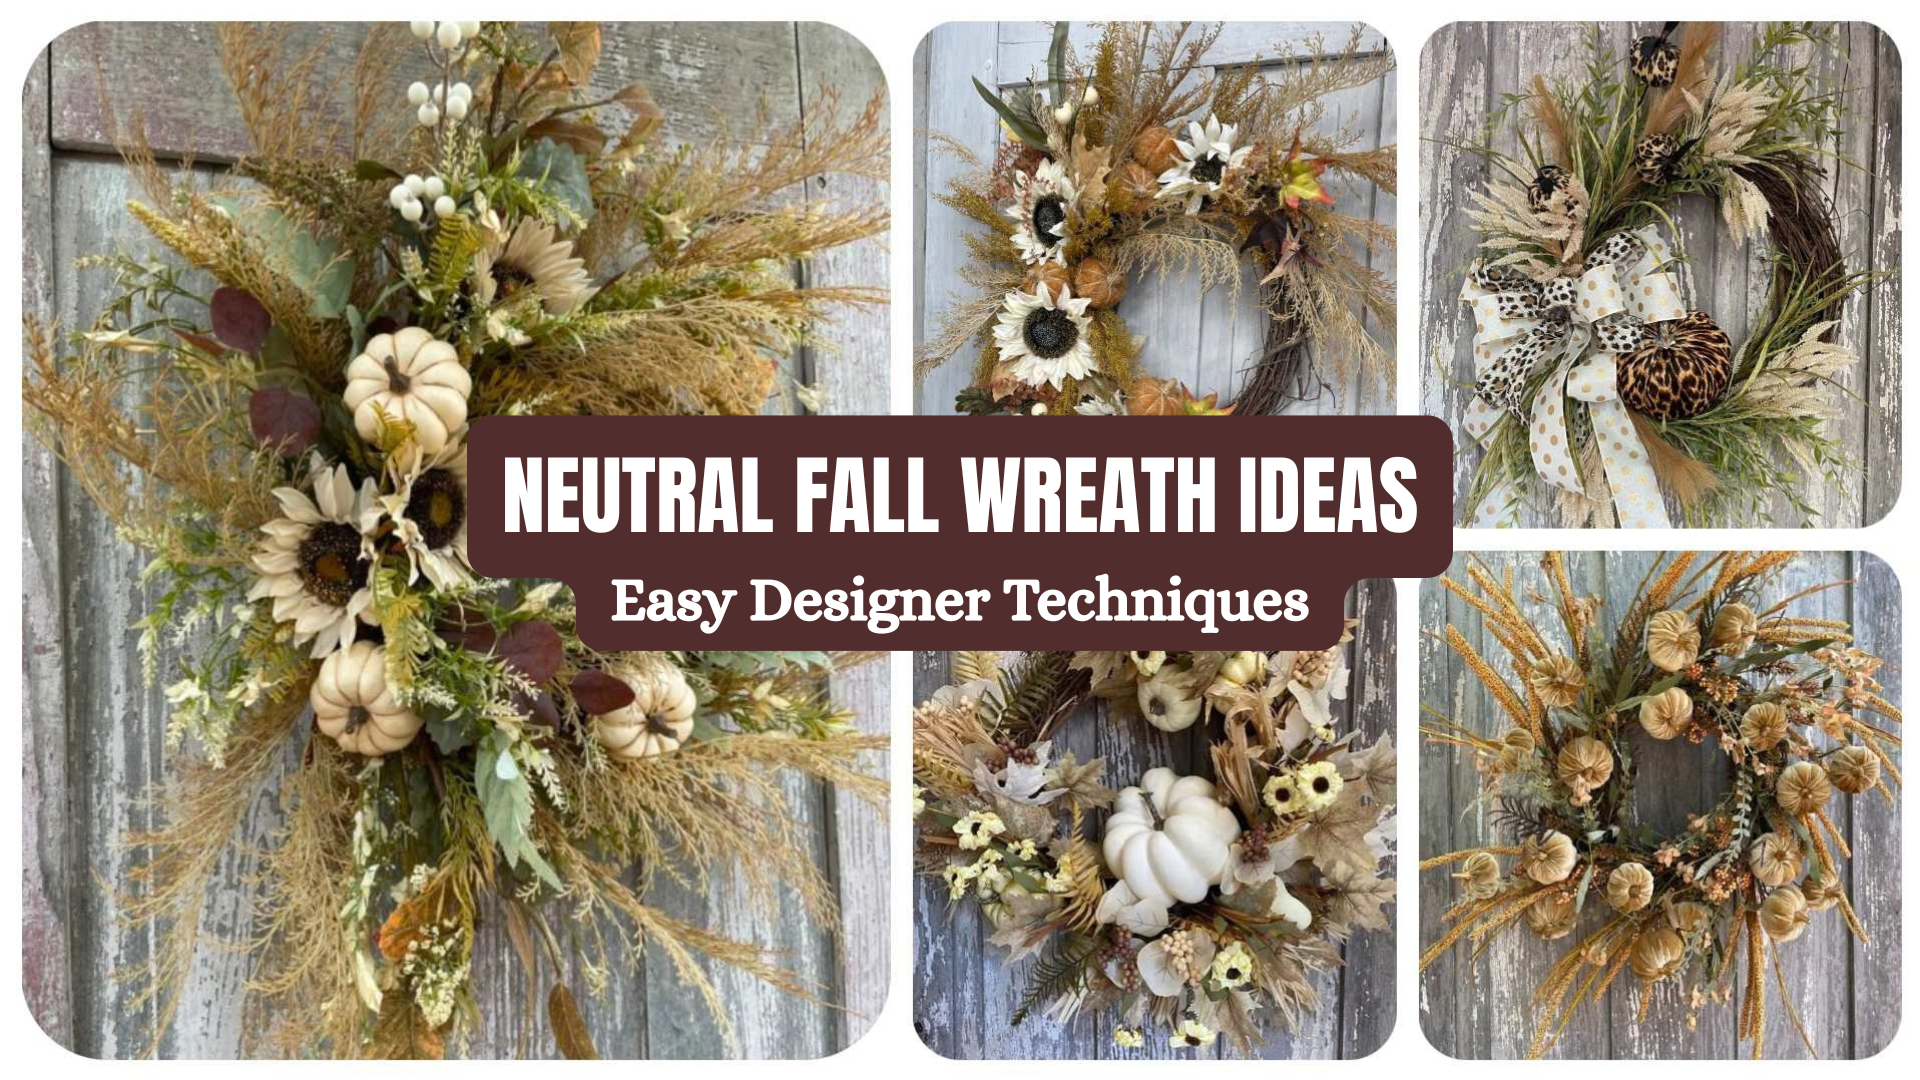
Traditional oranges, rusts, golds, browns, and deep reds are always beautiful for fall, but you aren’t limited to them. Neutral greens, creams, muted pumpkin tones, and woodland colors can create a softer autumn look. The seven projects in this collection show several very different fall color combinations.
Do I have to make my wreath exactly like the tutorial?
No. In the compilation, Kelea specifically encourages you to use her design as a guideline and change things to suit your own style.
How do you make a fall wreath look fuller?
Don’t simply add more materials. Concentrate on placement and layering. Establish the perimeter, create foreground and background layers, vary stem lengths, and allow selected pieces to extend beyond the main body of the wreath.
Can fall wreaths be used indoors?
Absolutely. Fall floral designs can be used on interior doors, walls, mantels, entryways, and other spaces. The Cozy Cottage project in this compilation is designed to work as a candle ring, giving you another option for bringing the same floral style to a table or other interior display.
What should I add to a fall wreath?
Pumpkins, berries, autumn foliage, greenery, ribbon, sunflowers, scarecrows, woodland elements, and seasonal attachments can all work. You don’t need to use everything at once. Choose a focal point first and let the remaining elements support it.