Looking for a fun and easy summer wreath craft project? This DIY green butterfly door hanger is perfect for adding a touch of whimsy to your décor. Made with just a few simple supplies, it’s also budget-friendly! Keep reading for the full tutorial.

DIY Butterfly Door Hanger
Making your own wreaths just got so much easier when using premade wreath froms like this butterfly door hanger. When you work with a premade wreath form you really have very little to do to make something this beautiful for your home.
You won’t need too many tools to complete this diy home decor project. With this design I kept it very simple just using some greenery and a few filler stems to help tie in the green.
If you thought people loved black and white buffalo plaid check, well they haven’t seen it on a butterfly green and white! What makes this design even better besides the buffalo check? You can use it for both spring and summer decor!

Ingredients
Scissors
Cable Tie
Floral pins
Foam Block
Spanish Moss
Green Hydrangeas
Cream Colored Floral Filler stems
Butterfly Premade Wreath Form
Directions
- Take a piece of foam, just a small square, and wedge it into the butterfly wing securing it with hot glue.
- Now take a couple floral pins and dip them in the glue. Push that in from the side, that’s going to hold tightly between the grapevine and the foam. Repeat on the opposite side of the foam block.
- Use your wire cutters to trim individual stems of the green hydrangea near the main stem. In the video, we cut that into three sections.
- Fluff out your floral stems to create a sense of motion.
- Dip your floral pins into the hot glue and pin those hydrangea stems into the foam block, pointing in opposite directions.
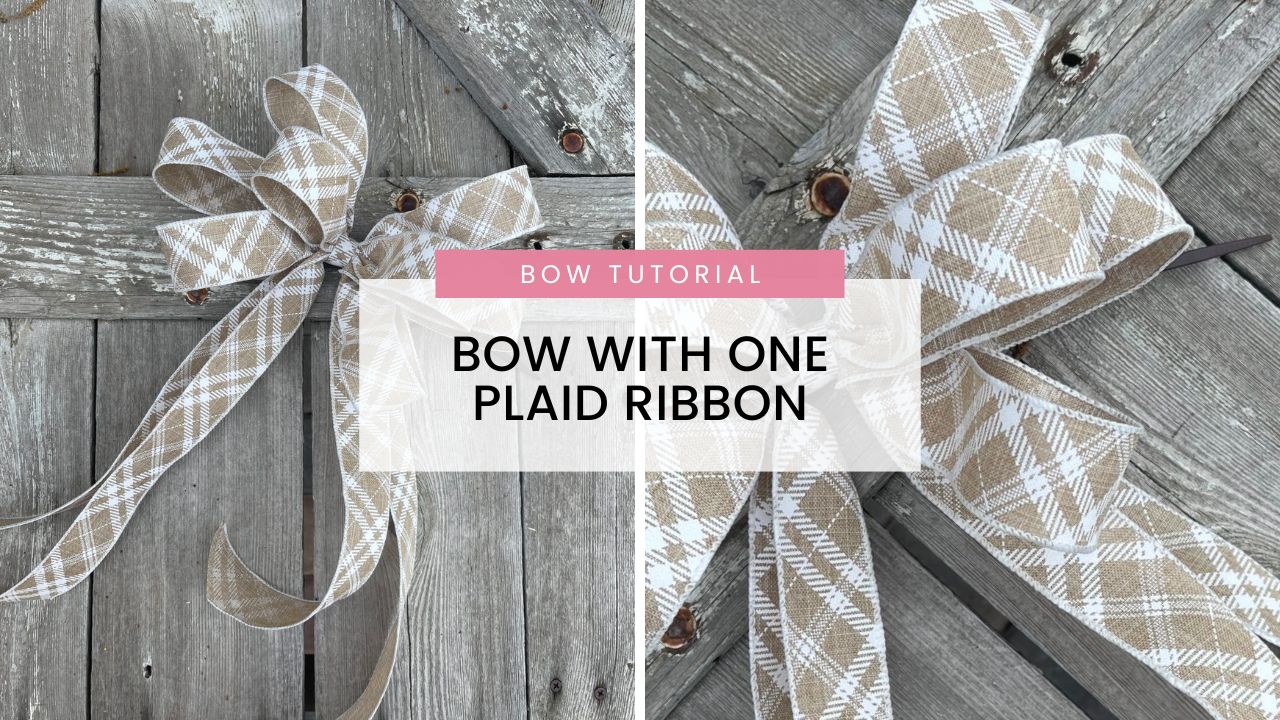
- Start your bow with a 14-18″ tail. Create a 3 nice size loops, about 6″ long. Secure with a cable tie.
- Add the bow at the center of the floral design using a floral pin. Trim the excess cable tie. Curl in your ribbon tails and fluff out your bow.
- Use your additional stems and cream filler flowers to fill out your design. Dip each stem into the hot glue and insert them into the foam block.
Why use premade wreath forms?
Premade wreath forms make crafting your own wreaths much easier. There are many different shapes and sizes to choose from, and they can be easily customized with bows, ribbon tails, fun picks and stems, and more. Plus, they’re a great way to use up leftover bits of supplies.
Want to learn more?
Join the free Facebook group Keleas Bloomarino Buds Wreath Making Community